


In this tutorial we’ll learn how to copy and paste queries to and from the Query Editor. When your working in Power BI Desktop often you will need to share and model the data before it can be applied to the visual. In my experience you’ll need to add a calculated column or break out a date such as 1/5/2016 into the the Year 2016 or Month 01, components to properly display a visual.
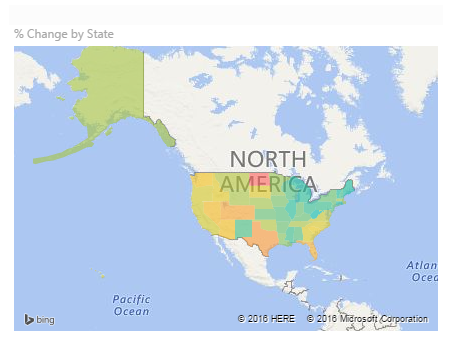
We will start off with from a prior example where we build a shaded region map. The tutorial to create this Power BI Desktop file is located here.
If you want to cheat and download the final PBIX file you can download and open the zipped file here: Regional Filled Map Example
This file was made in Power BI Desktop April 2016 version, 2.34.4372.322, download the latest version from Microsoft Here.
Open the zip file that you downloaded and extract the file inside labeled Regional Filled Map Example. Open the file. Once you’ve opened the file on page 1 of the you see a map of the united states that looks similar to the following.
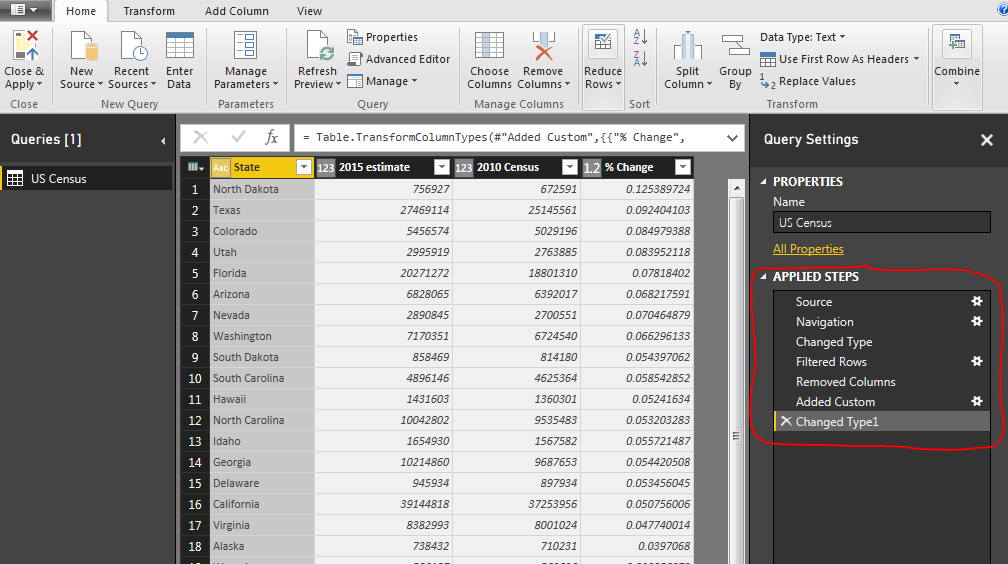
Now we well enter the query editor. Click on the Edit Queries on the Home ribbon. You opened the Query Editor. In this window we shape and model the data so we can properly visualize it on the pages. Couple of things to notice here. Every time you press a button on the ribbon, the query editor generates an Applied Step. Each step writes a line of M code which transforms the data as it is loaded into the computer’s memory. In this case we have (7) seven steps starting at Source and ending with Changed Type1.
We want to expose the code that is begin generated at every step behind the scenes. Click on the View ribbon and then click on the button called Advanced Editor.
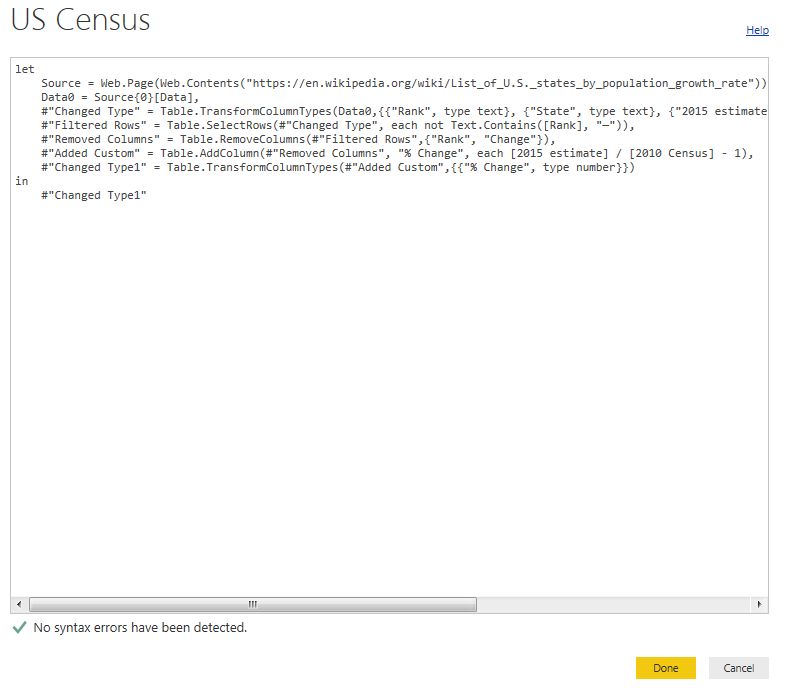
Opening this window reveals the M language code that is generating each Applied Step we saw earlier.
Note: some of the steps we saw earlier such as Filtered Rows had a space in it. In the query editor any applied step had a space in the name gets the added #”” around the applied step name. Thus, in the query editor Filter Rows would be #”Filtered Rows”. The hashtag and the quotations define the complete variable. If you changed the name of the applied step to FilteredRows, with no space. In the Advanced Editor you’d only see the step labeled as FilterRows, no hastag or quotations needed.
Now that the M language is revealed you can made modifications to the code. In cases where you want to make a function you would do so in the Advanced Editor. For our example today select all the code and copy it to the clipboard using the keyboard shortcut CTRL+C. Click Done to close the window.
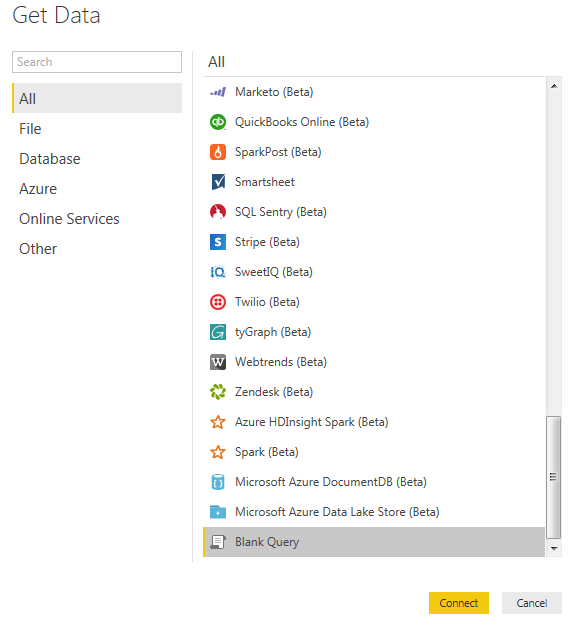
Now lets copy that code into a brand new query. Click the Home ribbon, then click New Source, scroll all the way to the bottom of the list and select Blank Query. Click Connect to start a blank query.
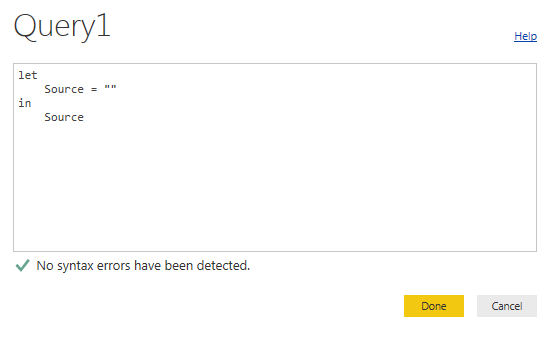
A new Query will now open up. Click the View ribbon, then click Advanced Editor. A blank editor window will open.
Paste the code we copied earlier into this window. Now the new Query1 should look like the following:
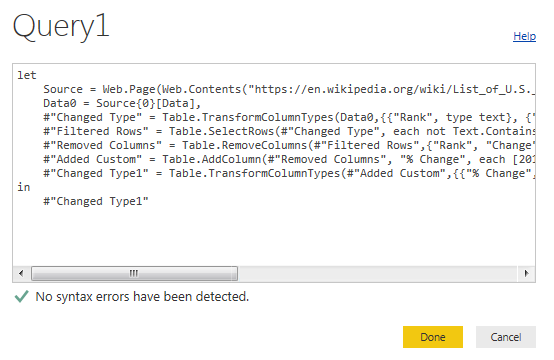
Click Done and the new query will now load. It is that simple, now we have two identical queries.