


This week I encountered an issue when working with multiple queries in my data model. Here is the source files in case you want to follow along.
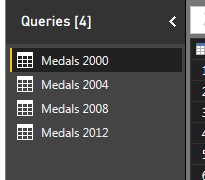
Here’s what happened. I had a PBIX file that had four queries in it, one file for the summer the Olympic metal count for the following years, 2000, 2004, 2008, and 2012.
After a bit of working I figured that my desktop screen was going to get to cluttered if I continued to collect Olympic metal data. Thus, I moved my excel files which were my source data into a folder called Olympic Medals.

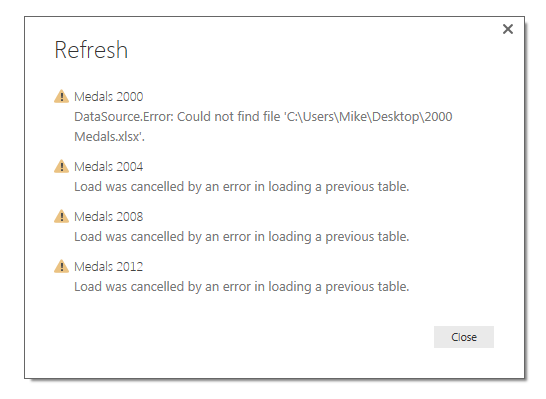
By doing this I broke all the links for all four files. This was discovered when I tried to refresh my queries and noticed that all the queries failed. Power BI gave me a nice little message notifying me that there was a data source error.
DataSource.Error: Could not fine the file:
To fix this I had to open the query editor and change each file’s location to the new folder that I just made. Seeing that this is not an efficient use of my time, I decided to spend more time to figure out a way to make a variable that would be my file location for all my queries.
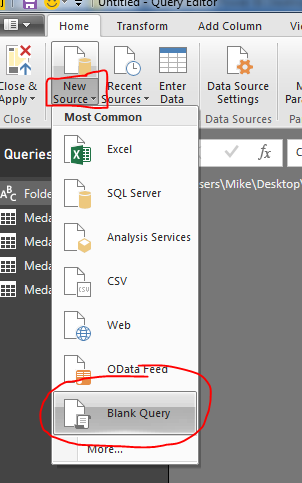
Lets begin by making a new blank query by clicking on the bottom half of the New Source button on the Home ribbon. Then click the item labeled Blank Query.
With the new query open type in the file location where you will obtain all your working files. For me my file location was on my desktop, thus the file location is listed below. Rename the new query to Folder.
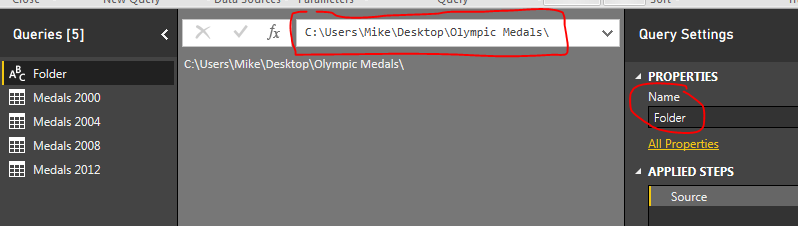
Note: Since we are working on building a file structure for Power BI to load the excel files you will want to be extra careful to add a “\” back slash at the end of the file location.
Next on the query for Medals 2000, we click the Source under the applied steps window on the right. This will expose the code in the formula bar at the top of the window.
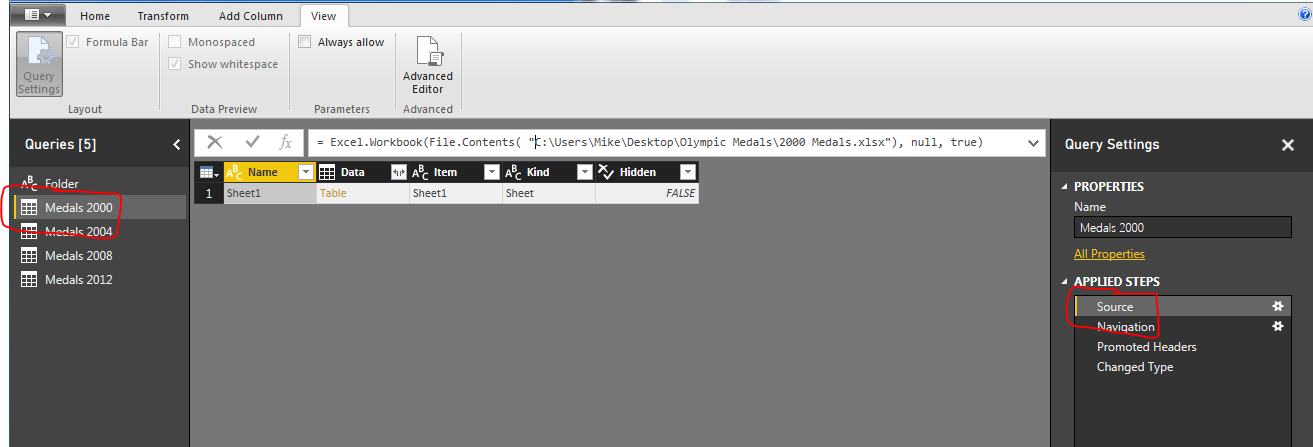
Note: If you don’t see the formula bar as I have illustrated in the image above, you can turn this feature on by click the View ribbon and checking the box next to the words Formula Bar. This will expose the formula bar so you can edit the source step.
This is where the magic happens. We can now insert our new blank query into this step. Our current file contents looks like the following:
= Excel.Workbook( File.Contents( "C:\Users\Mike\Desktop\Olympic Medals\2000 Medals.xlsx") , null , true )
Now remove the first part of the file location and make the equation match the following:
= Excel.Workbook( File.Contents( Folder & "2000 Medals.xlsx") , null , true )
Not only does this shorten our equation, it now uses the folder location we identified earlier and then we can pick up the file name 2000 Medals.xlsx. This makes is very easy to add additional queries with the same steps. Also, if you move your files to a new folder location, you only have to change the Folder query to reflect the new file location. To test this make a new folder on your desktop called New Folder. Move all the Olympic medal files to the new folder. Now in Power BI Desktop press the Refresh on the Home ribbon. This should result in the Data.Source.Error that we saw earlier. To fix this click the Edit Queries on the Home ribbon, select the Folder query and change the file directory to the new folder that you made on your desktop. It should look similar to the following:

Once you’ve modified the Folder query, click Close & Apply on the Home ribbon and all your queries will now reload. Success!!

Hope this tutorial helps and solves some of the problems when moving data files and storing information for Power BI desktop. Please Share if you like the tutorials. Thanks.