


March is an exciting month, and with this release of Power BI we have been given some long asked for features. One such feature is the ability to import a color theme. The color theme defines the starting colors for your visuals. Before the ability to import a theme one would have to first define each color that they want to use in a Power BI report by changing each visual to have the correct color scheme. Color themes are useful when trying to make a dashboard and you want to use colors that resemble a company’s product or logo. Alright, let’s get started and make and add our own color theme to a report.
Begin by opening up Power BI Desktop. Make sure you have the latest version of Power BI Desktop, you can download the latest version here. The import color theme feature is available in the March 2017 release.
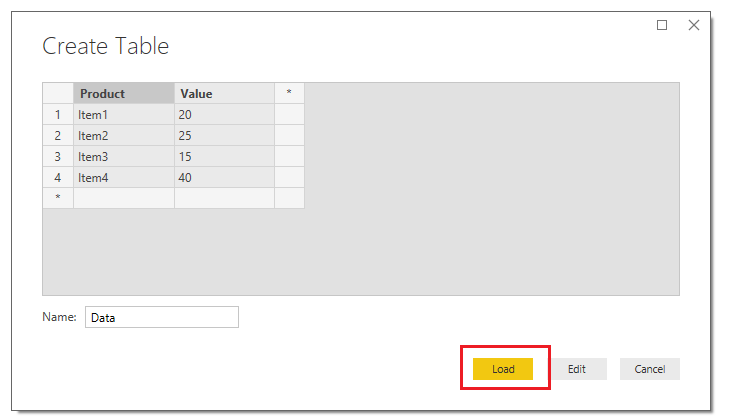
On the Home ribbon click the Enter Data button. Enter the following table of data and name the table Data.
| Product | Value |
| Item1 | 20 |
| Item2 | 25 |
| Item3 | 15 |
| Item4 | 40 |
The Create Table should look similar to the following. Click the Load button to proceed.

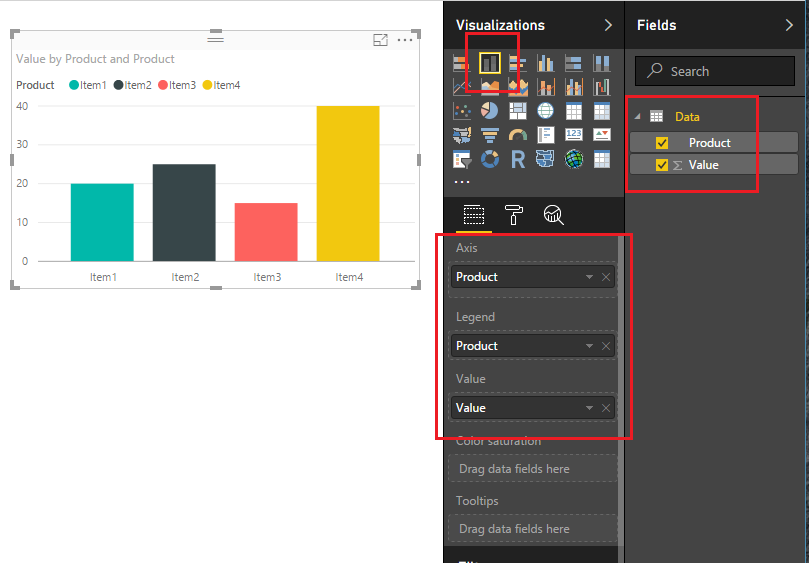
Power BI will load the data to memory and the Fields pane will reveal our newly created columns. Add the Stacked Column Chart on the report page and appropriate fields shown in the image below. You will notice that the default colors are automatically overlaid onto our visual when we add the Product to the Legend visual field.

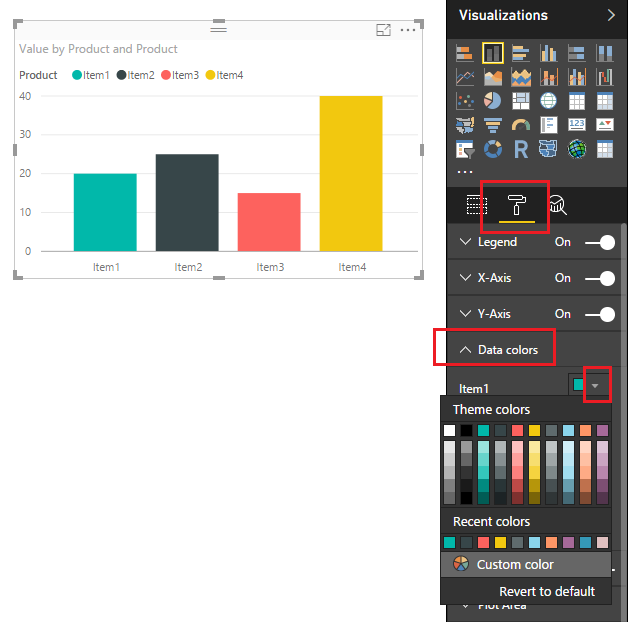
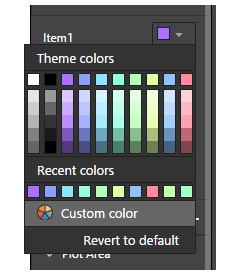
Next, let’s take a peek at the standard colors that are offered by default from Power BI. Click on the Paint Roller found in the Visualizations pane. Then expand the data field labeled Data colors. Under Item1 click the little triangle. This will expose the current color scheme that is loaded.

Now we will load the new color theme. But before we can load the color theme we have to generate the color theme first. The color theme has some requirements. First the color theme must be written as a JSON file and must adhere to the JSON format. For developers this will be a very simple google search to accomplish this. However, I know there are some out there that do not enjoy doing development work. So, in a PowerBI.Tips first, I have developed a custom tool to make the color theme generation super simple.
Introducing the PowerBI.Tips Color Theme Generator (CTG) to help Power BI users create quick and easy JSON code files to input into Power BI for the color themes. Not everyone has a coding background, and though there will be tutorials and examples of how to set up the JSON, if you aren’t familiar with the language a small typo could have you spending precious time troubleshooting the issue.
update 3/15/17: The Advanced Theme Generator has been released. Find the tool here.
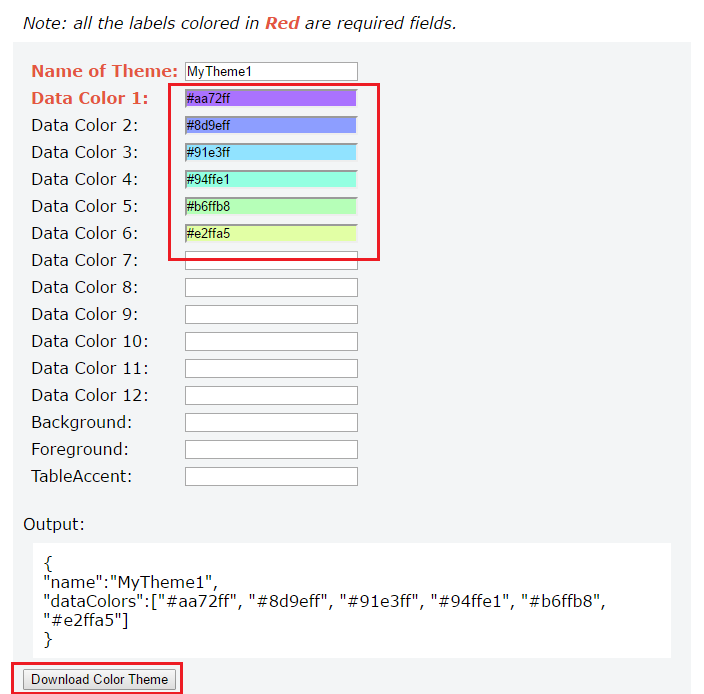
Click the following link to open up the PowerBI.Tips Color Theme Generator in a different Browser window. Once the browser loads the Color Theme Generator follow the instructions listed at the top of the page to select your colors. The only required fields are the Name, and at least one color. For this tutorial I selected a number of nice pastel colors. Click the Download Color Theme button to download the JSON file that we will use in Power BI.
Note: The Generator was tested on Google Chrome. Also, clicking the Download button will download the JSON file to your browser’s default location. You will need to know this file location to load the file into Power BI Desktop.

Head back over to Power BI Desktop. On the Home ribbon click the button labeled Switch Theme. Then click Import Theme.

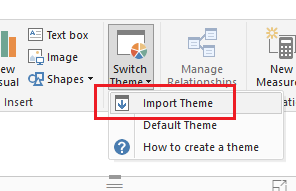
Note: If you want to remove your custom theme you will click on the Switch Theme, then click on the Default Theme. The normal power BI colors will be restored.
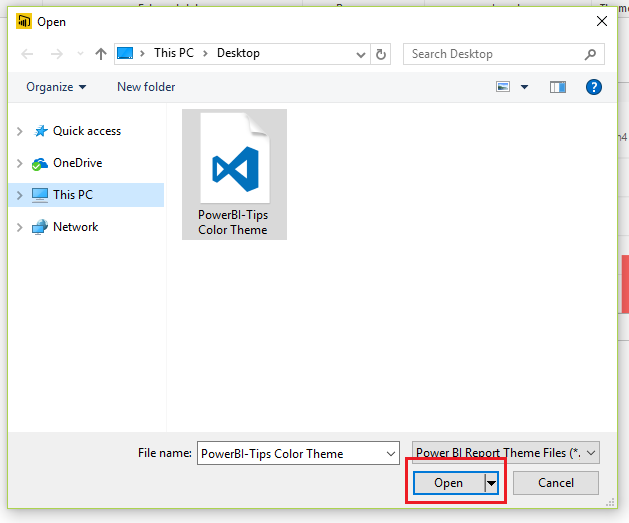
Navigate to where your browser downloaded the file. Select the file labeled PowerBI-Tips Color Theme. Click Open to load the theme.

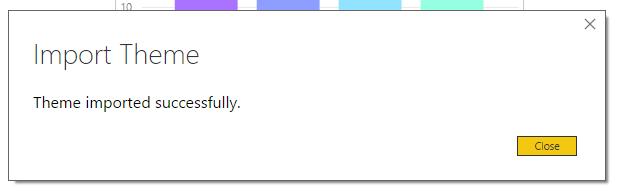
PowerBI will prompt a message letting you know everything loaded correctly. Click Close to see the new theme applied to our visual.

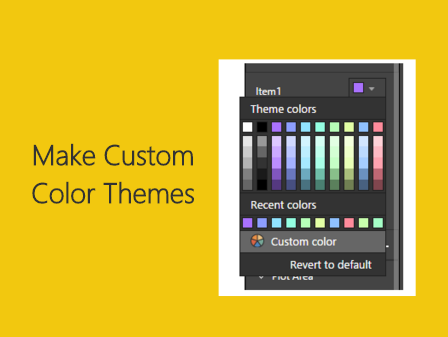
We can now see our custom theme by clicking on the Paint Roller found in the Visualizations pane. Then expand the data field labeled Data colors. Under Item1 click the little triangle.
Tada, now we have a custom color scheme that we create and loaded. Also, now that we the JSON file you can modify the file and keep it for future projects.

Thanks for following along. If you liked this tutorial please be sure to share. Also if you want to know more about me you can visit my About page and follow me on twitter or Linkedin for updates.