

We do a ton of Layouts here at powerbi.tips and with the introduction of the new visual grouping feature I was looking for different ways I could utilize that functionality to make templates for different reporting scenarios. First, if you aren’t familiar with how to build a visual group, be sure to check out a blog Mike wrote on this a little while ago on the subject.
While I was exploring an idea of how I might leverage this new feature, a challenge I’d seen re-occurring in the Power BI Community forums popped to the forefront of my mind. This new feature gives a perfect solution for answering the question of Report page consolidation.
Time and again I’ve seen people talk about navigation issues related to the number of pages or tabs they have in their reports. Sometimes, particularly in embedded scenario’s, you can’t reduce the pages and break them up into smaller reports. This could already be accomplished in the past, but man oh man, good luck finding what you were looking for in the selection pane. Let me show you how easy this is to accomplish with the addition of the new visual grouping feature. By walking through these few examples you can extend this to however many pages you need following the same patterns I describe below.
Setup:
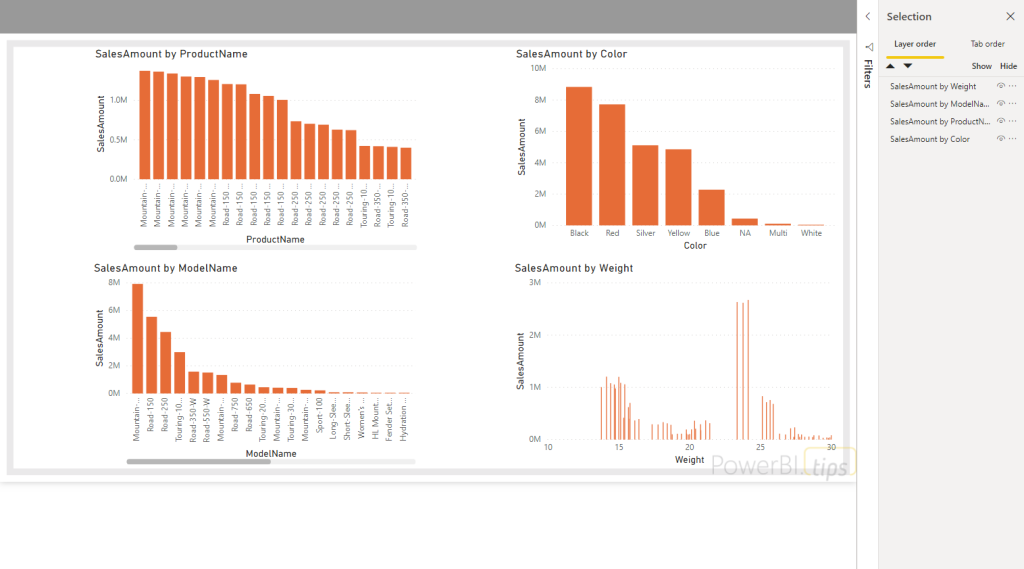
On your main page, make some room for buttons that you can create to toggle your pages on/off. You can see I did that in the image below.
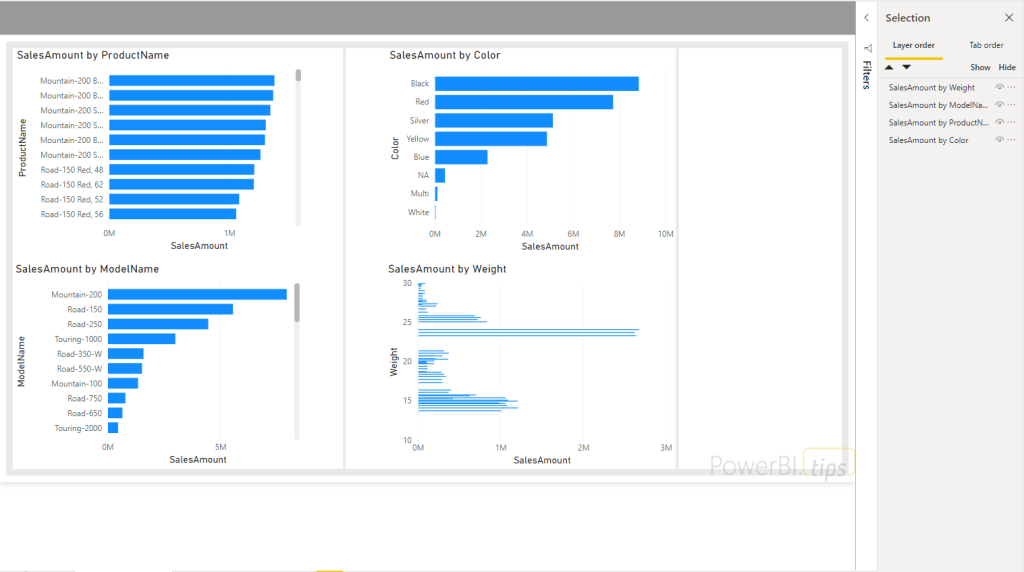
Next we’re going to click on the top object of the selection pane and hold SHIFT + Click the last object, this will highlight all the objects.
Right click and select Group from the drop down menu.
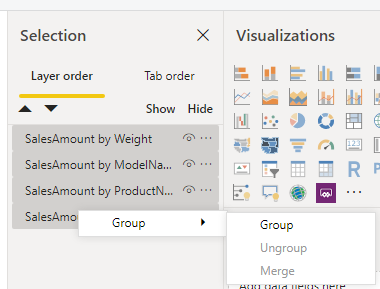
This will create a “Group 1”

Let’s rename this to Page 1. You can do that by Double Clicking on the group name and typing in the new name, Page 1.
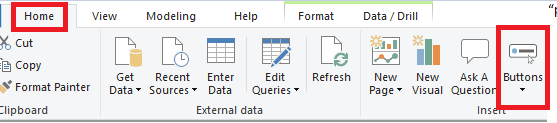
Next, we’ll create a button called “Page 1”
Select the Home ribbon, then click the icon called Buttons.
Choose a Blank button from the drop down. In the formatting pane under the visualization area choose the section titled Button Text and toggle it on, then type in Page 1.
Place the button in on the right side of the screen.

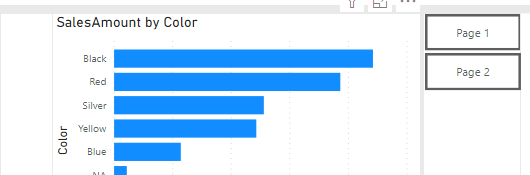
Great, now since we just created this button, let’s create a second button. This one will be for our “Page 2”. Follow the same steps above or select the Page 1 button and do a CTRL + C (copy command) / CTRL +V (paste command) to create a new button. Rename it to Page 2 and you should end up with this
Prep Additional Page
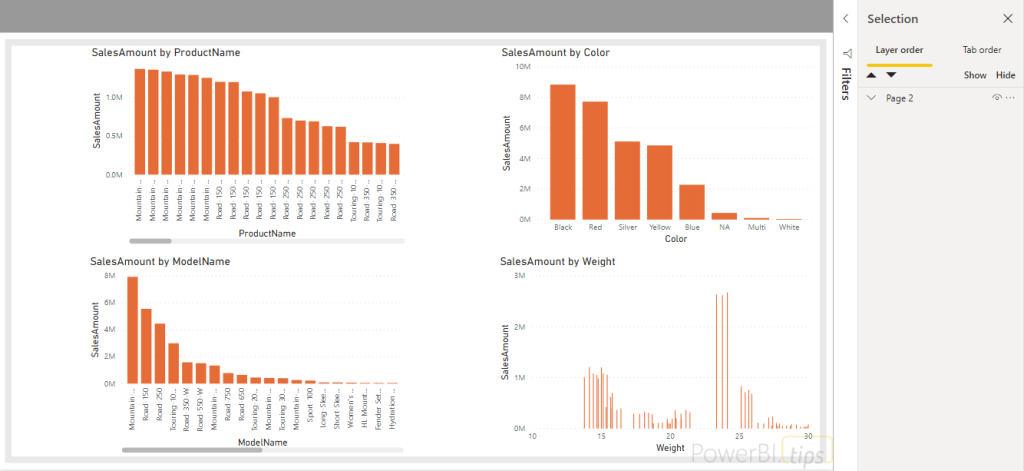
Now, here is where this gets cool. Imagine you have N number of pages, all with roughly 10 objects on each page. We are going to go to each page and condense all the objects down to a single one. Go to your second page, in the same fashion that we created our page 1 group, we select all the objects in the selection pane.
An alternative method would be to just click on your report canvas and CTRL + A to select all objects, then right click and create group. We now see our new group in the selection pane and we can double click to rename it Page 2.
Bring It Together
Now Click on the Page 2 group and hold CTRL +C to copy the group
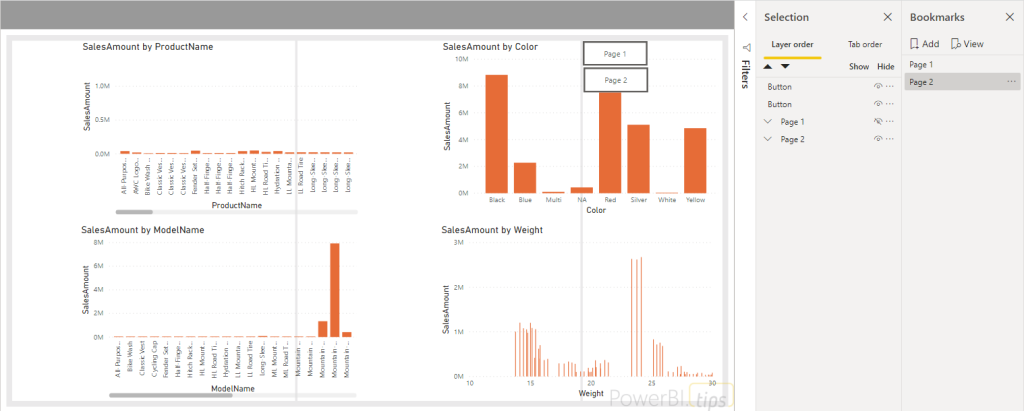
Navigate to page 1 and CTRL + V to paste the group.
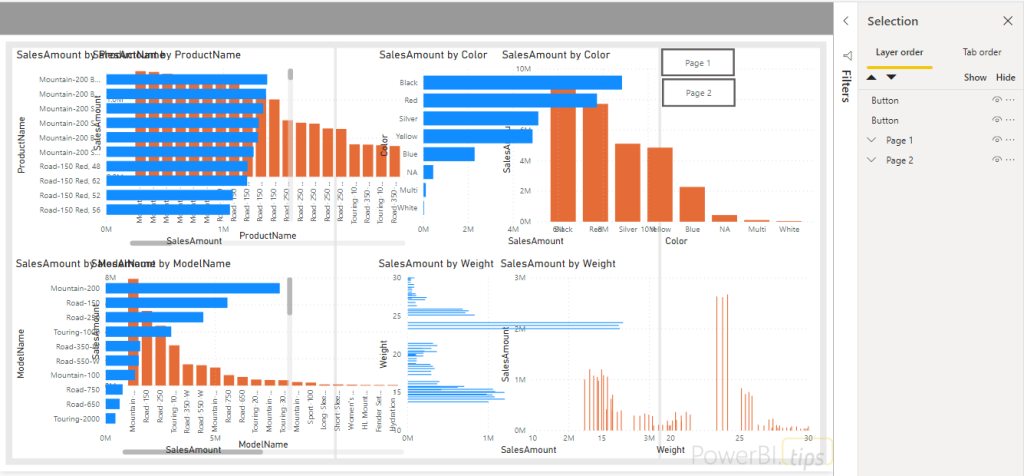
This will bring all the objects from your Page 2, to page 1 and it will look like a giant mess similar to this
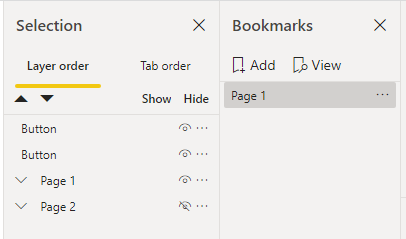
But you know what isn’t a mess? The Selection pane! Because we created the group, all we need to do is toggle the Page 2 visual icon to off
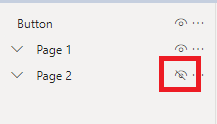
And our page looks normal again. Now let’s hook up the buttons and bookmarks.
Go to the View ribbon and open the Bookmarks pane.
Click the Add button at the top of the window. This will create a snapshot of the current state of the report page. Double Click the bookmark that is created and change the name to Page 1.
Now, toggle the Page 1 visual group off from the Selection Window. Then turn the visibility of Page 2 visual group to on.
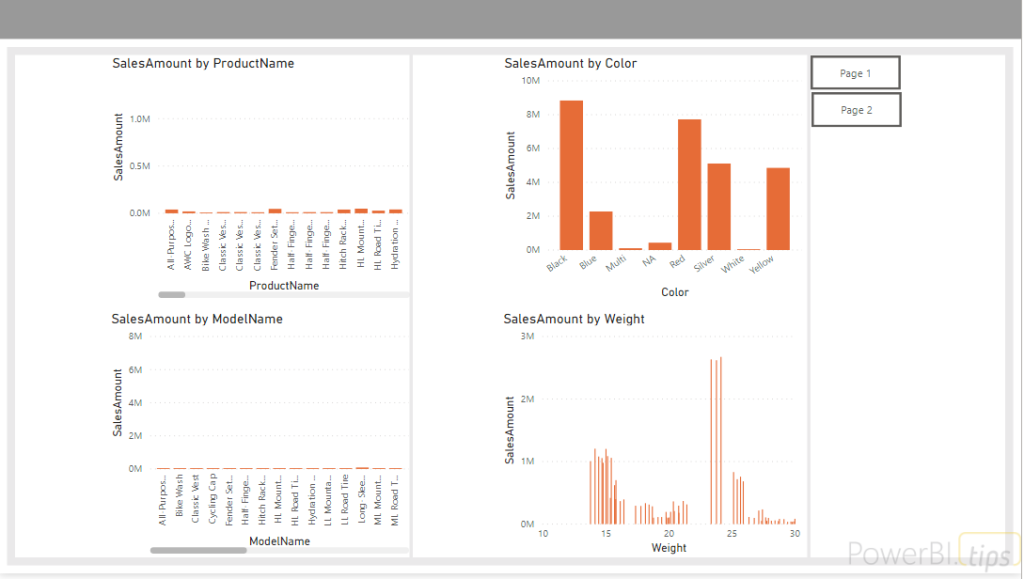
Create a second bookmark. Now, change the name to Page 2. You’ll likely notice that things just aren’t aligned right (at least in my case that is true because I’m using a background.
But since the visual grouping is its own object, all I need to do is select it and all the visuals resize for me! I don’t have to individually mess around with each one! Super cool.
The last thing we need to do is connect our buttons with our bookmarks. We Select the Page 1 button. Choose the Action in the formatting and toggle it On.
Select the Bookmark from the Type drop down. Then Select the Page 1 bookmark we created.
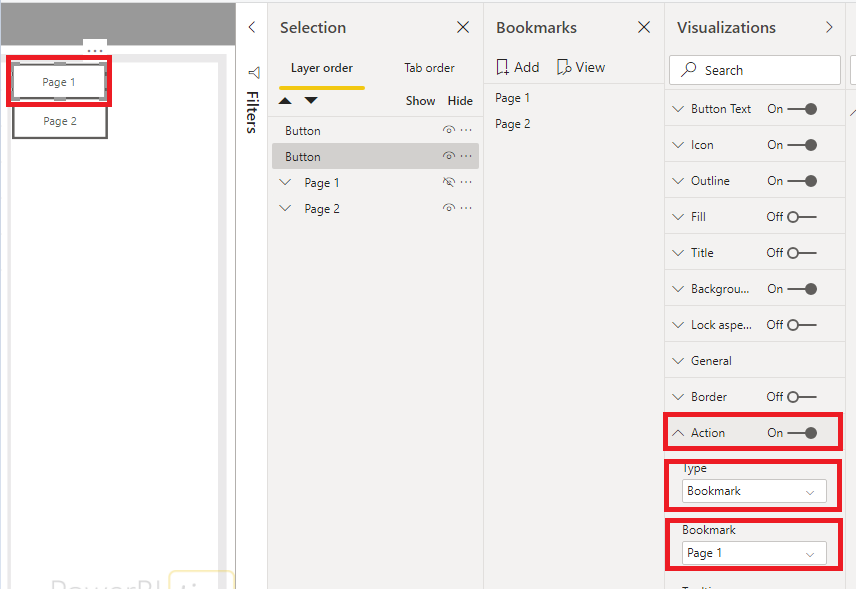
Repeat the same thing for Page 2. You have just created navigation buttons to the two views of your report pages.
CTRL + Click in Power BI desktop will activate the actions on the buttons. Finally, you can see that you will toggle between the report pages on the single page. WHEW!
Closing
This was possible before visual grouping, but now it is an EXTREMELY clean and efficient way to consolidate your report pages and add a ton of objects into a single page. You do have a lot of objects on the page, but don’t worry there isn’t a performance impact because they don’t render until you click the button to make them appear. You can test this out by enabling the Performance Analyzer in the View ribbon.
Visual grouping coupled with bookmark grouping have made these features fun to use and easily manageable for all. This is just a simple use case where extending the use of visual grouping to help us manage our reports better can make a world of difference as we build. I hope you enjoyed this post and that it helps you clean up any reports you may have that got a little unwieldy.
If you like the content from PowerBI.Tips, please follow us on all the social outlets to stay up to date on all the latest features and free tutorials. Subscribe to our YouTube Channel, and follow us on Twitter where we will post all the announcements for new tutorials and content. Alternatively, you can catch us on LinkedIn (Seth) LinkedIn (Mike) where we will post all the announcements for new tutorials and content.
As always, you’ll find the coolest PowerBI.tips SWAG in our store. Check out all the fun PowerBI.tips clothing and products:
