When you have really large data models loaded in powerbi.com there are challenges around quickly loading gigs of data into a data model. This is particularly challenging when working with data models in production. When changes are made which require a full load of data tables this can take hours to refresh. This means when a production change needs to be made, this should be done in low use times, evenings or over the weekend. What if we could greatly increase the load speed? but, we can!!
TL/DR
Let us cut to the chase. How do we solve this issue? We use Power BI backups with Azure blob storage. This feature can be found here on the official Microsoft Documentation.
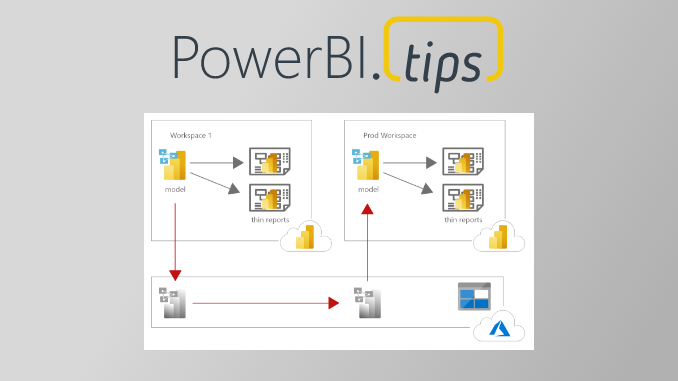
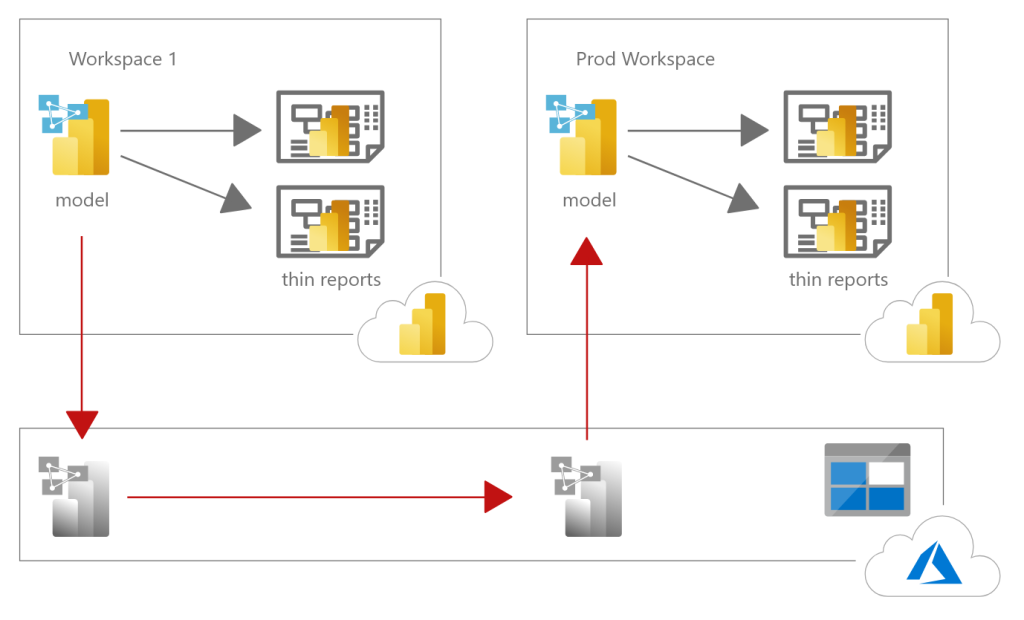
Below is a high level architecture and movement of the Power BI data models across the blob storage account.
The Solution
The high level solution goes something like this:
- Create two workspaces, one in prod and one for pre-loading data
- Connect both workspaces to premium
- Turn both premium capacities to large dataset capacities
- Link azure storage to both workspaces
- Publish a modified data model into the pre-load workspace, this contains the changes to the data model.
- kick off a full load of the data model in the pre-load workspace
- Open SSMS connect to the backup the pre-load workspace XMLA endpoint
- Backup the pre-loaded model to azure blob storage using SSMS
- Open azure bob storage, copy and paste the .abf file into the prod workspace
- Use SSMS to connect to the prod workspace XMLA endpoint
- Use the restore feature from SSMS to load the .abf file back into the model in production
Instructions
Below are the step by step instructions as show throughout the experience.
When you link your Power BI workspaces you will see inside the Blob storage a folder for powerbi and another folder for power-bi-backup. Note, it is important that both workspaces the pre-loading data workspace and the prod workspace point to the same blob storage account.
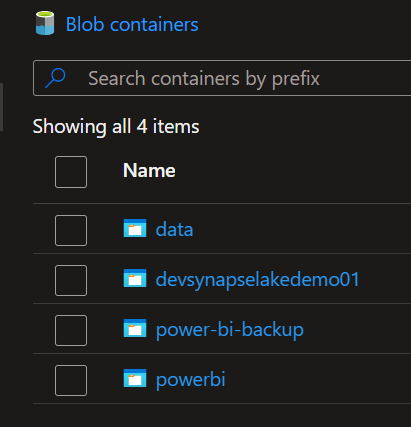
For each workspace PowerBI.com will create a single folder for each workspace. See below we have two workspaces for this demo.
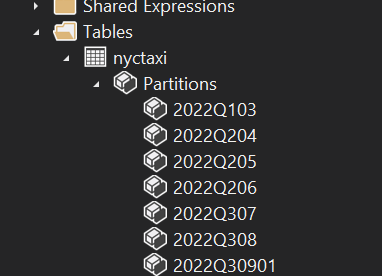
We can use the XMLA endpoint found in the workspace settings to connect and see the partitions within our data model. For this example we have a pre-loaded dataset called nyctaxi. This dataset was deployed into a workspace and fully refreshed loading all the data into all the partitions.
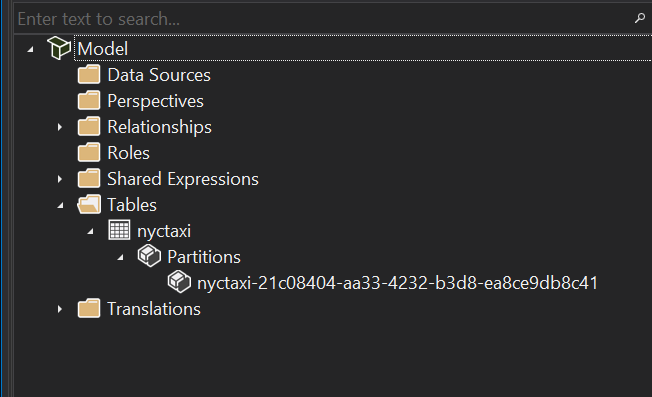
Below is a the same dataset, with the exception there are no partitions preloaded. We assume we are going to use the backup created from the above dataset and then load the partitions into the Prod model.
Note: in this example we are pushing all the partitions and all data in the partitions into production. Usually your production model will already have partitions. Thus, it is easier to show our model adding partitions for this demo. If you really want to confirm the data is correctly being restored from backups you would look at the row counts found in each partition.
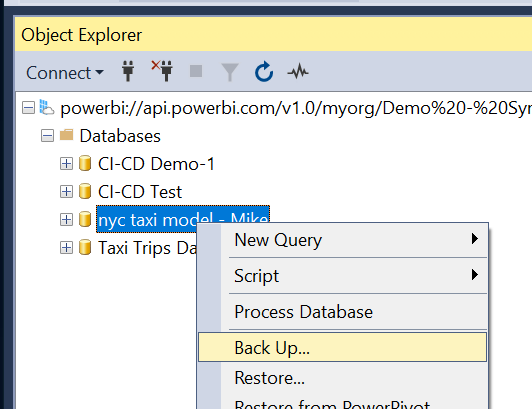
Here we log into the pre-loaded data set using SSMS.
Right Click on the data model that you are going to backup. Select the option labeled Back Up… in the drop down menu.
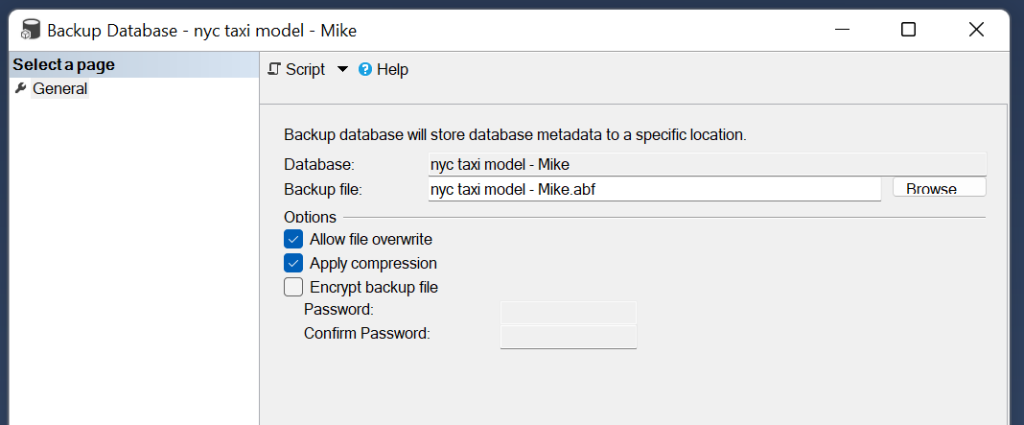
After clicking Back Up… a menu will appear letting you to name the backup file.
It is recommended to allow the file to be overwritten and to apply compression to the files. Once your settings have been configured, then you can Click the OK button at the bottom of the window to accept the changes.
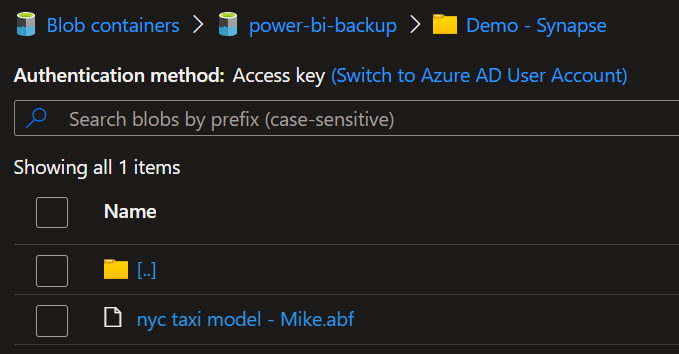
After the backup completes we will be able to see the .abf file inside the blob storage folder.
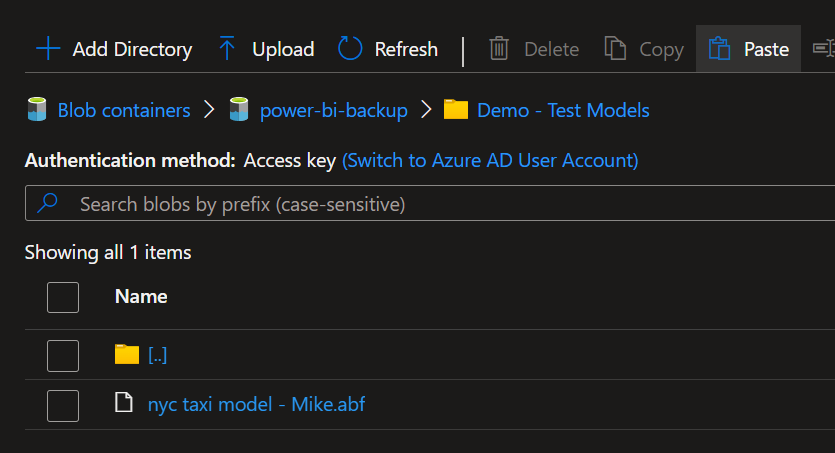
Using the copy and paste buttons form the azure portal you move the files between the workspace folders.
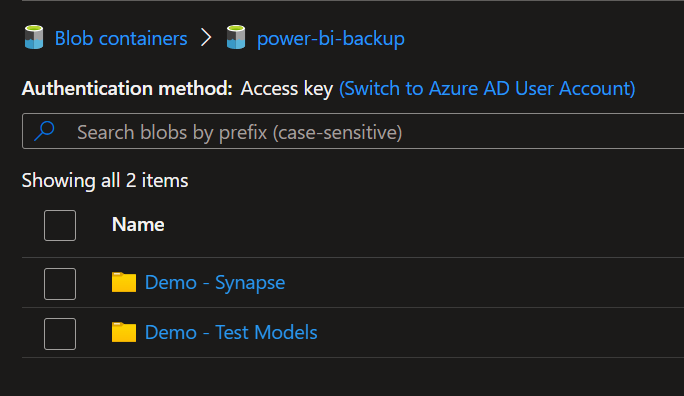
Below is the copied model .abf file from the demo-synapse (pre-loaded data) into the Prod workspace named (Demo – Test Models).
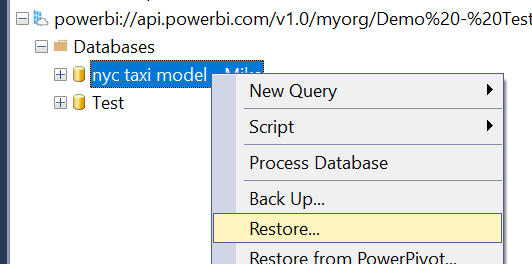
In SSMS we connect to the production workspace. Again Right click on the data model and select Restore… shown in the drop down menu.
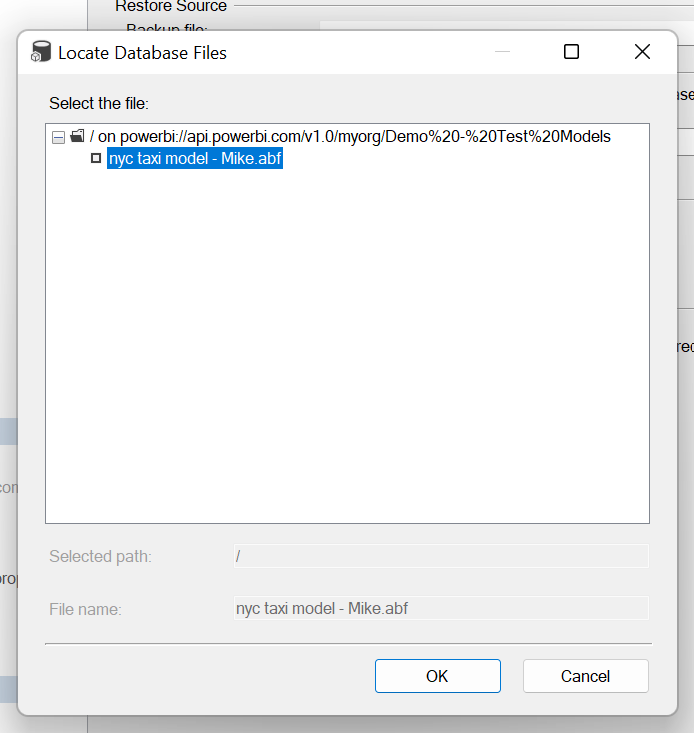
The restore menu will appear. In this menu clicking on the Browse button will bring up another window letting the user to select the data model from the storage account.
Note: on this screen you will need to select Allow database overwrite and it is optional to select if you want to Overwrite security

Below is a screen shot of the selection screen for picking the model
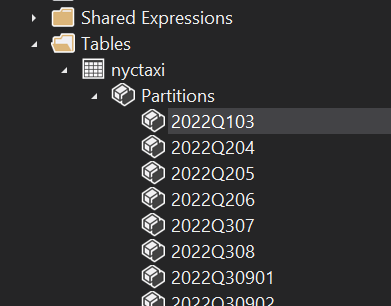
Once the restore has completed we can go back to our production model and see we now have partitions loaded.
If you like the content from PowerBI.Tips please follow us on all the social outlets. Stay up to date on all the latest features and free tutorials. Subscribe to our YouTube Channel. Or follow us on the social channels, Twitter and LinkedIn where we will post all the announcements for new tutorials and content.
Introducing our PowerBI.tips SWAG store. Check out all the fun PowerBI.tips clothing and products:
Check out the new Merch!