

I’ve been using Power BI since it was released back in 2015, and I’ve found that when talking with other PowerBI users there is always a little confusion about how to share Power BI reports. My experience has been that most people are first introduced to the service and go directly to PowerBI.com, login and start playing around. They explore a little and find a cool data source to connect to, such as a SQL database or some good old google analytics data. Typically they will begin making a dashboard and really get into making visuals on a report.
While this is an excellent way to get started because this removes the complexity of having to model your data, it does come with some challenges that leads to issues later on.
- There comes a point in time that the user usually needs some additional data. The “this is good data but, if I could only join the data with another source….” question almost always comes up.
- These reports are typically made in your personal workspace which is not a good solution for sharing a report with another user. I’ll explain later.
- How do I source control this document? What if I want to go back in time and restore my changes?
In order to answer these questions, I’ll show you what I use to get around these issues.
To start off, and most importantly!, try to refrain from building your dashboards in the PowerBI.com service. Yes, you can do it, but it is not recommended. I don’t recommend this because any report created in your personal workspace can only be edited by you and no one else. Also, if your account is deleted or you loose access to your account no other PowerBI user can modify your original report. It’s the classic, win the lottery, or hit by a bus case, depending if your an optimist or pessimist. What you should do instead, is download and open up the PowerBI desktop application. This will save you ton’s of headache later when you want to join multiple data sources or want to have a saved copy of your Report.
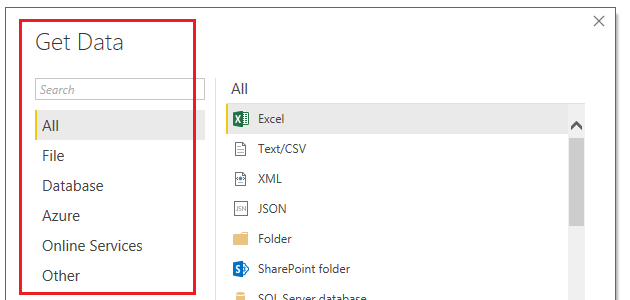
After you download the desktop application you will load the data using the Get Data button found on the Home ribbon.
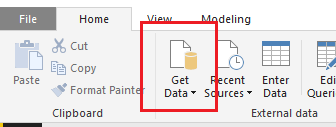
Almost, all data sources found in the Get Data window are on the PowerBI.com service. You will notice this changes over time, with each monthly release of PowerBI desktop.
FYI, I have noticed that changes happen faster in the PowerBI.com service as it appears as though there are weekly or bi-weekly updates. But the Desktop version is slightly slower to get changes as builds are only released once a month.
Next you will load data into the Power BI desktop. If you want to learn more about modeling you can browse through these tutorials on data modeling. Modeling happens in the query editor with the M language, and on the report pages using DAX.
Now we will create a very simple PBIX file to publish to the PowerBI.com service.
On the Home ribbon click the Enter Data button and enter the following:

This will create a simple data table. Click Load to bring the data into PowerBI Desktop.
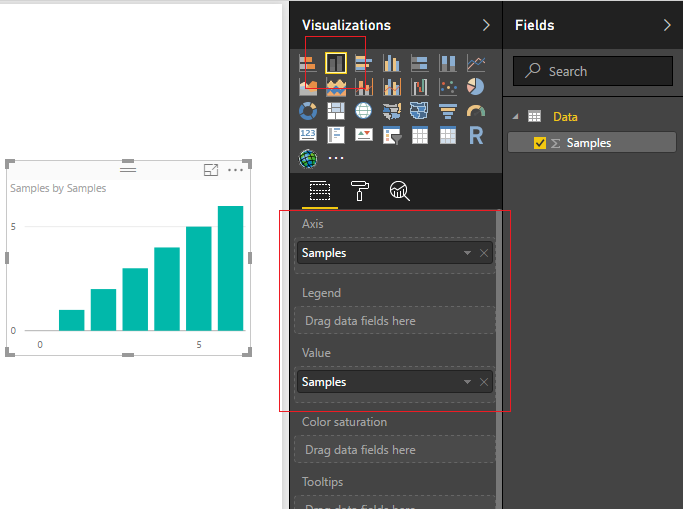
Create a visual by clicking on the Stacked Column Chart and adding the following columns to the visual.
Congratulations, we have completed a very simple report and you have loaded data inside the desktop. In addition to loading data PowerBI is equipped with a robust modeling tool called the Query Editor. The very topic of modeling your data is a huge. It covers the Query Editor, making DAX expression and has been covered in numerous books. This this post will not address modeling your data. As a side note, here are some really good sources of information for learning more about DAX.
Check out SQL BI.com from Marco Russo is a real genius and an excellent teacher. His site is amazing.
Another good source of modeling tips and all kinds of other goodies the Radacad Blog from Reza Rad.
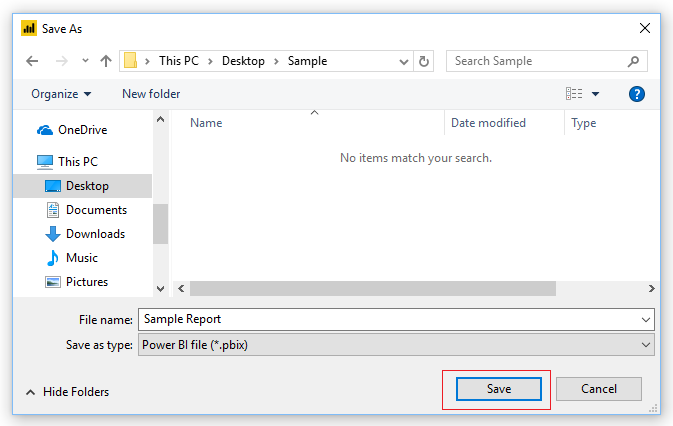
Alright, let publish this bad boy. First save the Report. Do this by clicking File then click Save. Enter a simple name such as Sample Report, click Save.
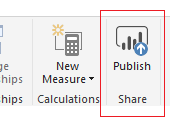
To publish the report to the PowerBI.com Service click the Publish button found on the Home ribbon.
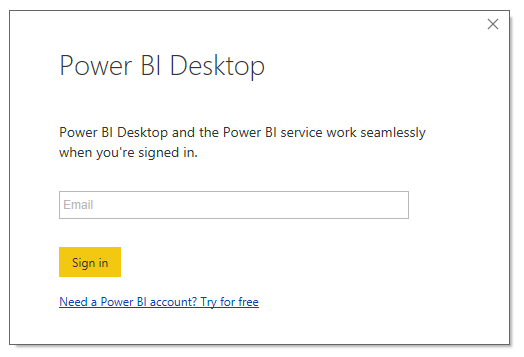
If you have not already signed into the PowerBI.com service you will be prompted to sign in.
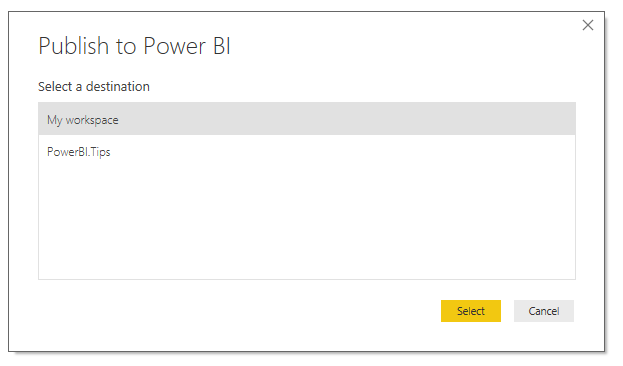
If you already have a more than one workspace in the PowerBI.com service a second window will pop up asking you to choose a workspace location. Choose a workspace location to publish the report.
Couple of important notes about workspaces.
- A workspace can have admin users or members. The admin user can add and remove individuals to the workspace. A member can be configured to either, edit reports, or only view reports.
- The workspace can have many admins if necessary which is helpful when collaboratively working on reports with a team.
- I have found that when working on many different reporting projects a workspace helps target a specific audience or provides an organized method to share only reports that would be relevant.
- You cannot create a workspace in this Publish to Power BI window. This has to be done from the service.
Since I am not sharing this report I will publish to My workspace. Click Select to complete the publishing. Once the report is done loading you will have a window that notifies you that the process has completed. A link is provided to check out your report directly on the service. You can dismiss the message by clicking Got it.
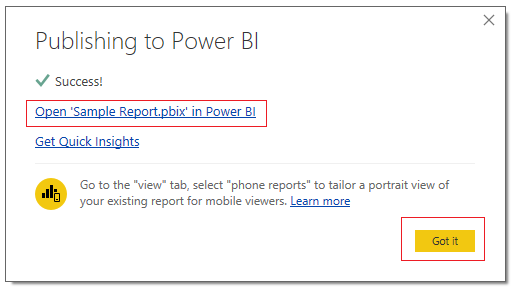
Click Got it to dismiss the pop-up window.
While remaining in PowerBI desktop, save the file one more time but use SAVE AS and save the file with the name of Sample Report V2.
Now we will create a new workspace for a report that we might want to share.
Go to PowerBI.com and login. On the left navigation bar click the arrow to expand the workspaces.
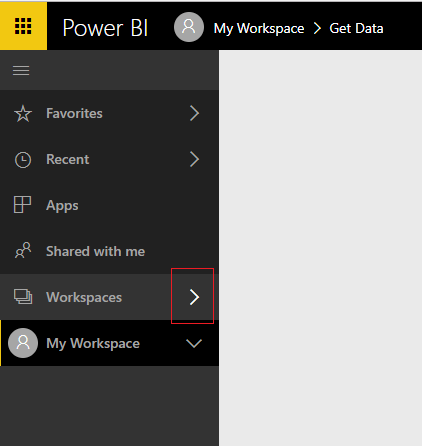
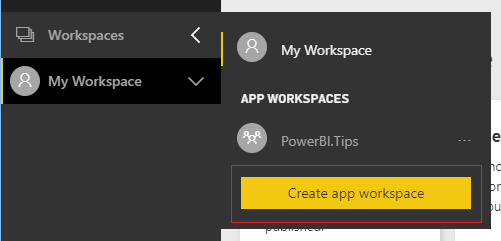
A fly-out menu will appear and you can click Create App Workspace.
Fill out your workspace name and configure your settings. Be sure to enter your email address that you used to log into the PowerBI.com service in the workspace members area.
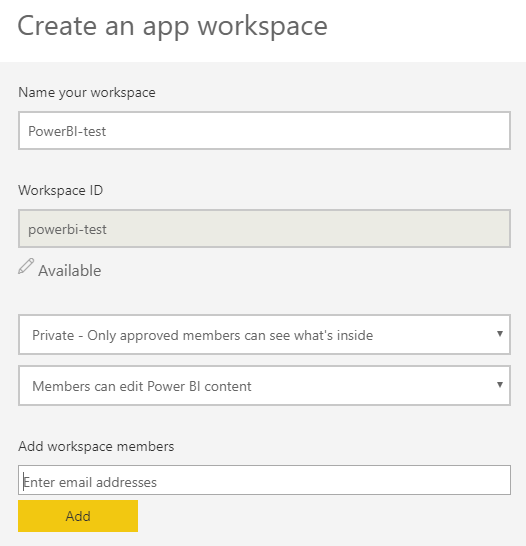
At the bottom of the menu click Save when you have completely configured the settings. Opening up the workspaces fly-out menu will now reveal your new workspace.
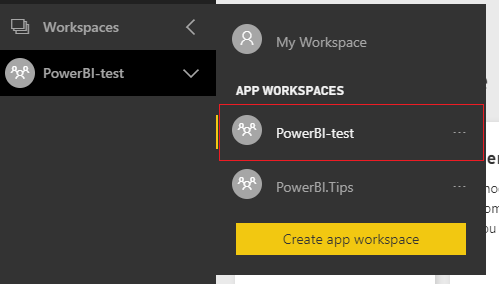
Click on the ellipsis of the new workspace PowerBI-test.
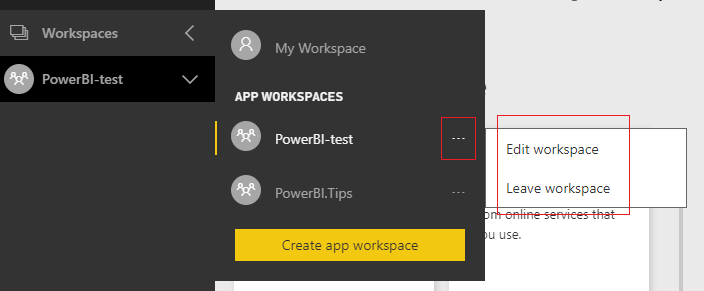
Notice when you click the ellipsis, that there are only two options, Edit and Leave. If you give it about 10 minutes or so, a third option will show up, Files. The reason we have to wait is because behind the scenes this workspace is tied to 0365 Groups. Thus, we have to wait for all the services to be fully provisioned before we can proceed. We will want to use the files option of our workspace. Now would be a good time to take a little potty break, pet your dog, get a snack… and come back in 5.
Yumm, I love Oreos…
Now that we have waited a bit, Refresh your browser page. This is important, if you don’t do this you won’t be able to observe the change. Click the ellipsis again and now we have a new item called Files.
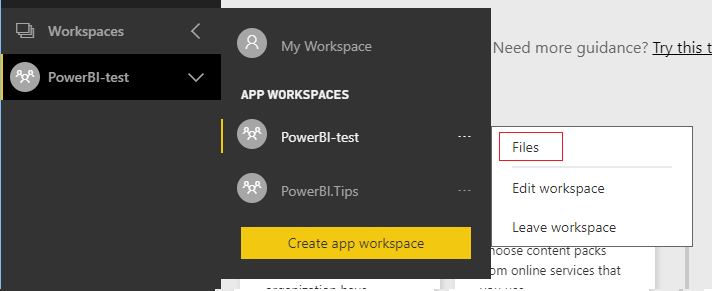
Click on Files and you will be re-directed to a custom SharePoint 0365 page for this workspace’s files.
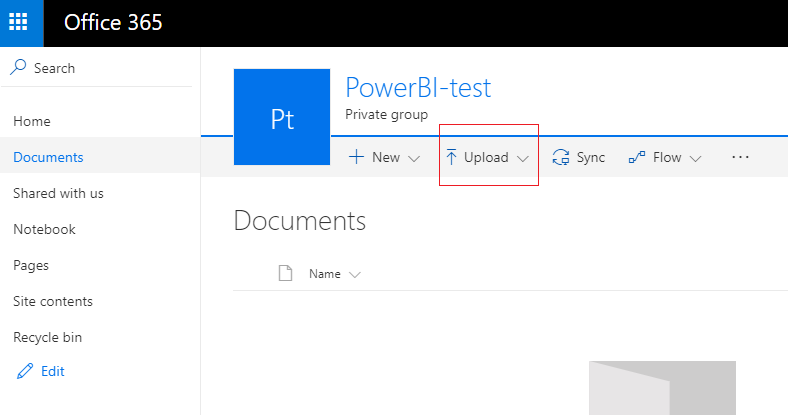
Now we can upload the version two of our PBIX file. Click the upload button on the navigation bar.
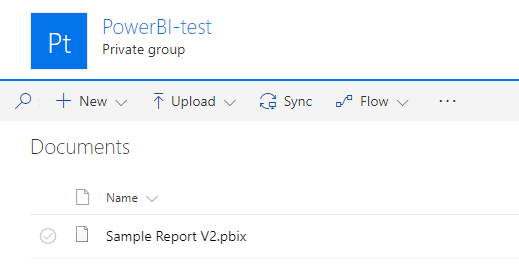
After uploading your file it should look like the following:
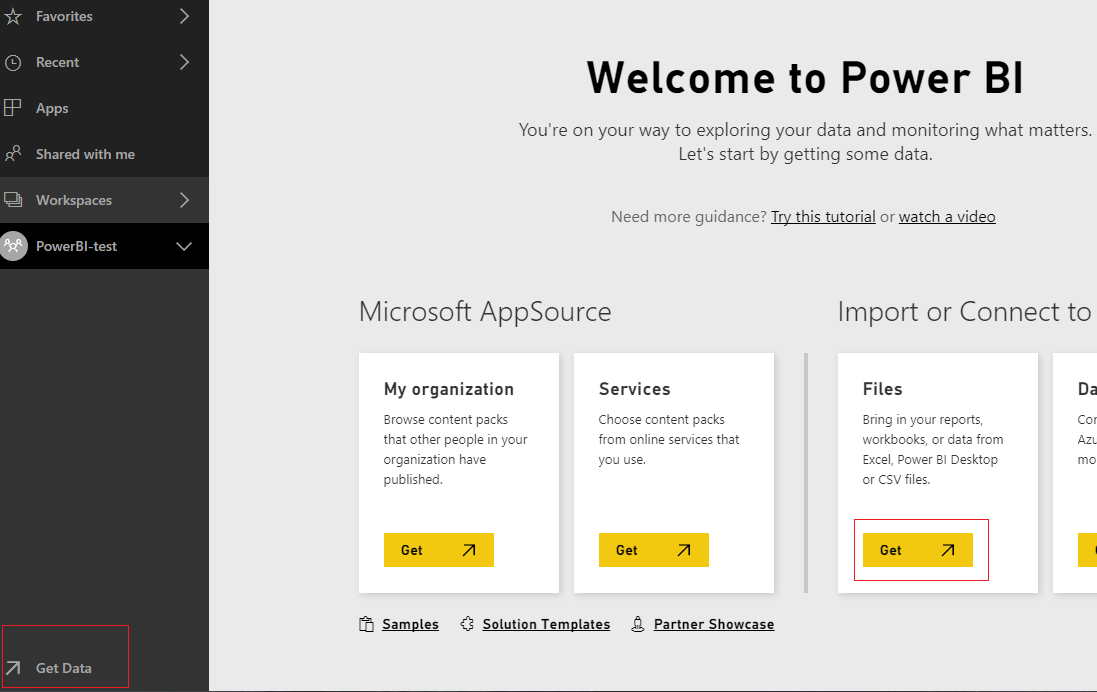
Go back to PowerBI.com, make sure you are still in the created workspace, then click Get Data at the bottom of the left navigation bar. Then click Get in the Files window.
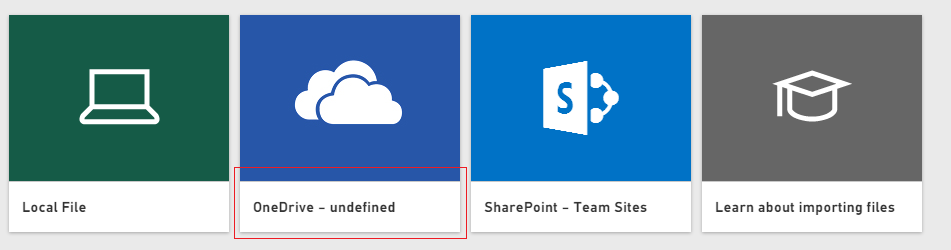
Then a screen will pop-up showing you which source you can use to get data. Click the title labeled OneDrive.
Upon clicking this we are taken to the OneDrive location that we created with the workspace. In here we will have the Sample Report V2.pbix file. Click the name of the file Sample Report V2.pbix. Then click Connect to load the file.
Note: If you want to make changes to the pbix file you have to overwrite the file in the OneDrive location. Don’t worry, SharePoint does have version control on the files. This will keep the files location nice and clean. It also removes the need for you to version or date each and every file. To learn more about versioning files in SharePoint hit this link.
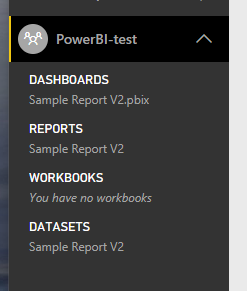
Now when we click on the workspace PowerBI-test we can see that the dataset, report, and dashboard has all loaded.
There are some advantages of loading your pbix file this way.
- loading a file from OneDrive will automatically refresh the report every hour from the pbix file.
- OneDrive provides version control for your file.
- If any team members want to modify the original file the members of the workspace can access the file from the SharePoint page.
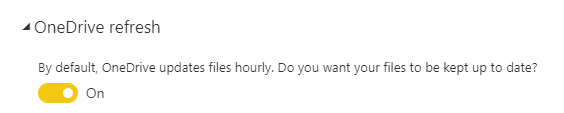
Click on the Ellipsis of the Sample Report V2 under the DATASETS section and select Schedule Refresh from the fly-out window. You will notice just under schedule refresh is a new setting called OneDrive refresh.
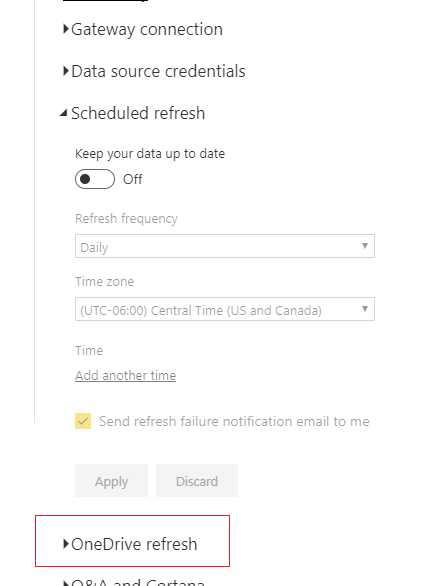
Click OneDrive Refresh, and now you can see there is a toggle for keeping the file refreshed every hour, which is enabled by default.
Whew, I think that about wraps it up, start with the desktop to make your files, be sure to create workspaces to share content, and use the workspace files to store and source control your pbix files.
I hope it was helpful.. Make sure you share this blog with another person if you found it valuable.