I’m a lazy engineer. Let me qualify my statement. In lazy I mean I like to find the path of least resistance, the shortest distance between two points. Everyday I challenge myself to be lazy, or efficient how ever you want to view it. As I have built many reports in Power BI over the years here is a fantastic trick, I use almost every day, Customizing the Quick Access Toolbar.
Here are a couple reasons why I think this will speed up your report writing.
- There are only a few shortcuts that I am aware of for Power BI Desktop, thus making your own shortcuts with Hotkeys is faster for repetitive tasks.
- To achieve a simple task, you might have to jump between ribbons, again adding time.
- When you set up Hotkeys you don’t have to remove your hand from the keyboard and wiggle your mouse around then come back to the keyboard. Again, wasting time.
Enough reasons, if you are still reading this then clearly you are lazy like me. Let’s just get to the good stuff…
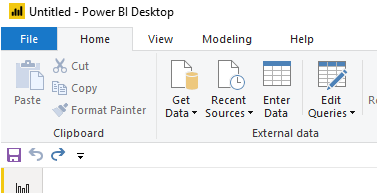
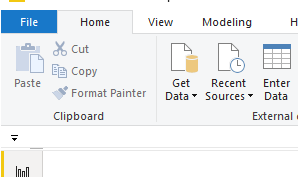
By default, you get the following Quick Access Toolbar:
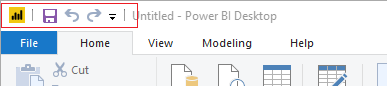
The icons are Save, Undo, and Redo.
While these icons are good, YOU DON’T NEED THEM… lol
You can automatically save by using Ctrl + S
Undo is simply Ctrl + Z
And Redo… lets be honest no one uses this one.
Another aspect of the Quick Access Toolbar is when you hit the Alt key you can reveal numbers on the toolbar:
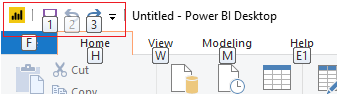
Pressing the number or letter triggers the next button press.
Example:
- Alt + 1 will automatically save the file
To take this further you can string together multiple key presses to dig even deeper into the menus
Example:
- Alt + H + ii brings up the import image dialog box
- Alt + G + D opens the menu to get data
- Alt + W + C Opens the Selection Pane, Repeating this command closes the Selection Pane
The downside with multiple commands it takes more time to learn the key strokes to be fast. As a personal preference I like to use one-step key press options (Ctrl + s or Ctrl + z). It is easier for my simple mind to remember and commit to memory. If you use Adobe products for images or video, you will be familiar with this technique. From my opinion Adobe has some of the best most useful shortcuts that enhance productivity.
Make it Custom
Let’s begin customizing our menu.
First Click the Down Arrow at the far right of the toolbar.

Click on the item in the dropdown menu called Show below the Ribbon. This will move the toolbar to the bottom of the ribbon.
For each item in the dropdown list Uncheck each item, Save, Undo, and Redo. This will remove all the items from the toolbar.
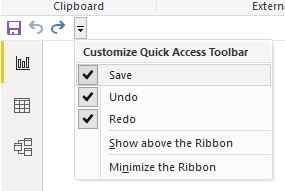
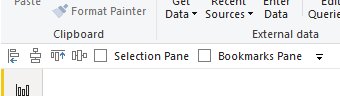
The Quick Access Toolbar will now look like the following image:
In our next step we need a hidden toolbar to appear, the Format ribbon. This Ribbon only appears when multiple elements are on the page. Thus, we will need to add some generic shapes to the page to reveal the toolbar.
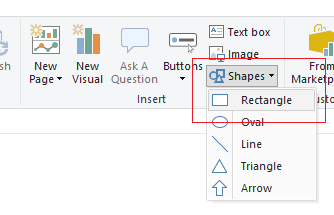
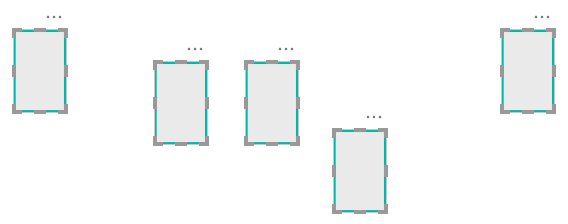
Add three Shapes (Squares) to the report page. Click on the Home ribbon and select the Shapes icon listed in the Insert section of the ribbon. Then Select the item in the drop-down list labeled Rectangle.
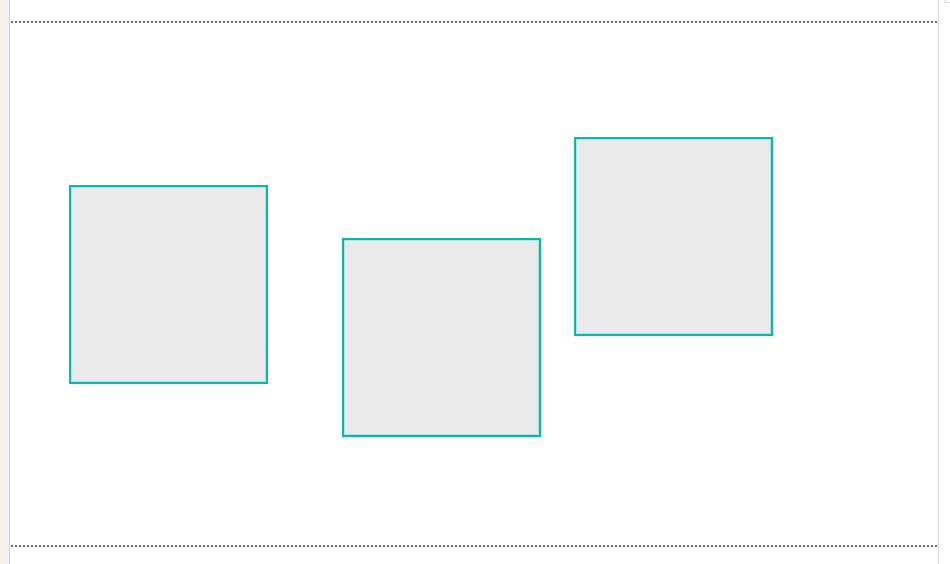
After adding one rectangle select the rectangle with your cursor. Use Ctrl + C to copy the shape. Then, use Ctrl + V to past Two more rectangles on the page. Use your cursor and move the shapes across the report page. The order of the shapes does not matter, they just need to be distributed across the page. See below for reference.
Use Ctrl + A to select everything on the page.
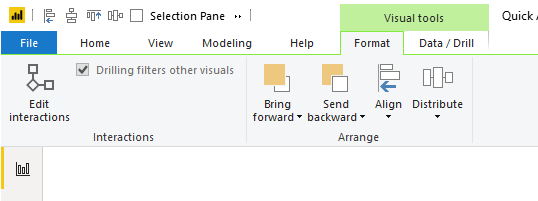
Notice a new ribbon appears, the Format ribbon. This is called a context aware ribbon. This has been a long standard best practice in office products. Only show the ribbons that are needed. Thus, the format ribbon and the Data / Drill ribbons are not exposed until you have visuals selected on the page.
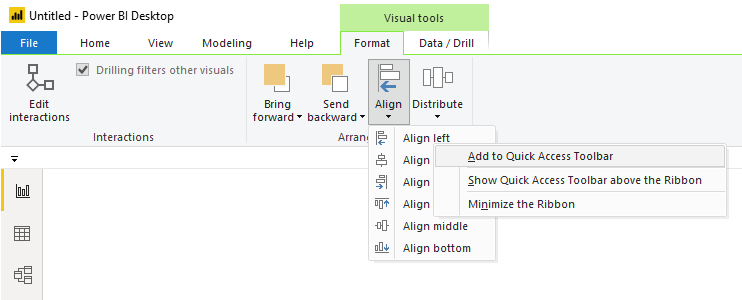
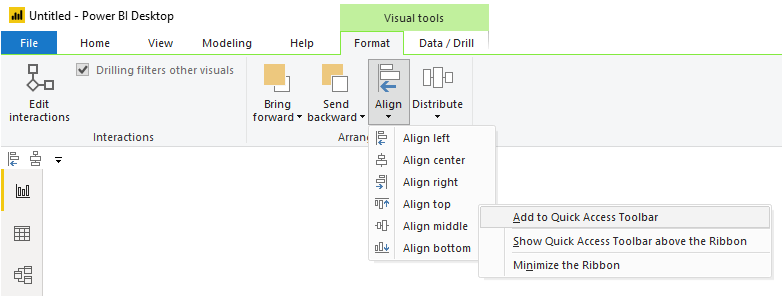
Click on the Format ribbon. Click the button called Align in the Arrange section of the Format ribbon. Then Right click on the first item in the align menu called Align left. Upon doing this, a menu will appear. Select the first item in the list called Add to Quick Access Toolbar.
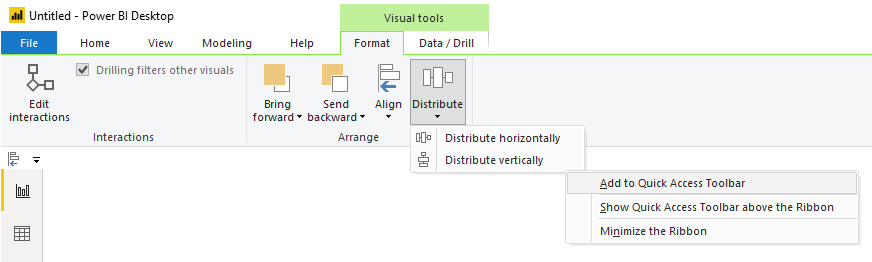
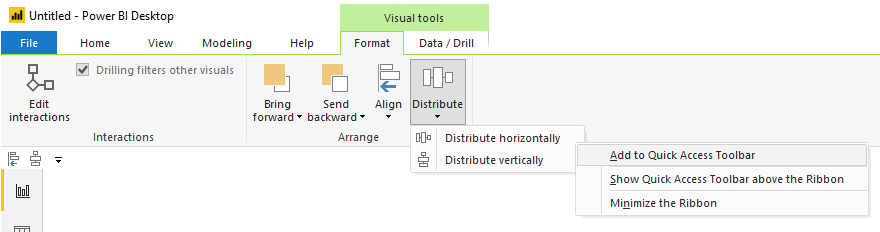
Repeat the same process by adding the Distribute Vertically action from the Distribute button on the Format ribbon.
Next, Add the Align top action from the Align button on the Format ribbon.
Finally, Add the Distribute horizontally action from the Distribute button on the Format ribbon.
Using the combination of Aligning an Edge / Distribution is just so much faster then moving one object at a time.
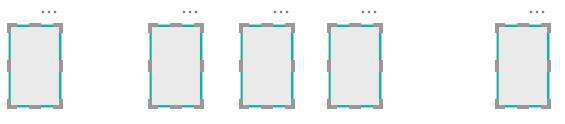
For example, here is a random arrangement of 5 shapes on a page.
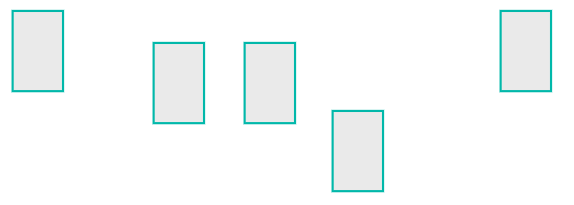
Using our newly created shortcuts I select the Items I want to move.
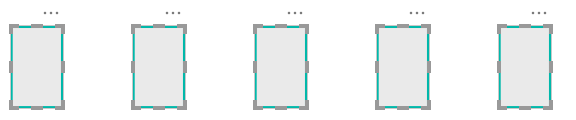
Then using our new key combo, Alt + 3, Boom all the top edges are aligned.
Then the magic, press Alt + 4 and all the items are evenly distributed
Superfast and efficient, aka lazy..
Side Note:
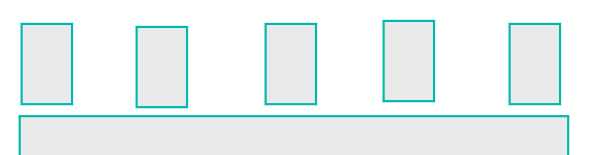
When I am training new users in building Power BI reports, I like to point out the following, it is important to align your elements on the page. This follows along with one of the Gestalt principles, symmetry. Your eye can perceive slight differences in objects that are misaligned. I can’t tell you the number of reports has something like the following:

The change is subtle but your eye picks it up. When these out of alignment objects are near another visual with a straight edge it is even more apparent.
(Steps off the Soap Box) Ok, enough diversions. Let’s finish with adding two more items that I use every time I build a report, Selection Pane, and Bookmarks Pane. We can add these items to the menu as well.
Navigate to the View ribbon (or hit Alt + W if you want to be fancy).
Right Click on the item called Selection Pane. Select the item in the dropdown Add to Quick Access Toolbar.
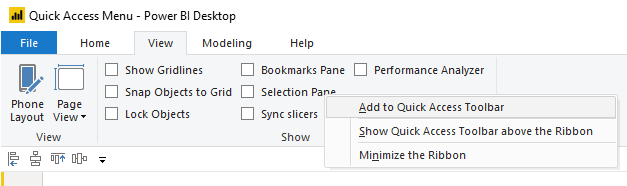
Do the same for the Bookmarks Pane. When you are finished your Quick Access Toolbar should look like the following:
You may be asking yourself… So why did we move the menu to the bottom of the ribbon? We could have just left it on the top of the screen. You would be right. But, I do want to point out one odd behavior when the Quick Access Toolbar is at the top of the ribbon.
When I have multiple visuals selected on the page the contextual menu appears. See below image with the Quick Access Toolbar at the top:
When this happens any items to the right might get chopped off, and you must access them using the double sideways arrow. The Alt + # keys will still work even though the items are hidden, but I don’t like the experience of having some of my menu items hidden. If you had many icons distributed across the Quick Access Toolbar, say 9 of them, you would have to remember its position in the alt keys. This is the reason why I prefer to show the Quick Access Toolbar below the ribbon. When the context aware menus appear the Quick Access Toolbar is not covered.

Thanks for reading along. Have a great day and I hope this tip / trick makes you a little bit more productive!
If you like the content from PowerBI.Tips please follow us on all the social outlets. Stay up to date on all the latest features and free tutorials. Subscribe to our YouTube Channel. Or follow us on the social channels, Twitter and LinkedIn where we will post all the announcements for new tutorials and content.
Introducing our PowerBI.tips SWAG store. Check out all the fun PowerBI.tips clothing and products:
Check out the new Merch!