I recently encountered a really frustrating experience related to a set of reports seeming to not update after some data source changes. I’d done this change before, and had another co-worker take on the task of updating some of the other reports in the same fashion. After a bit he reached out and explained that a few of the reports wouldn’t update while the others had… This was odd since we were making the same type of change. Queue hours of testing, changing, fixing one report without any idea how I did it, and then hitting a brick wall with the remaining two.
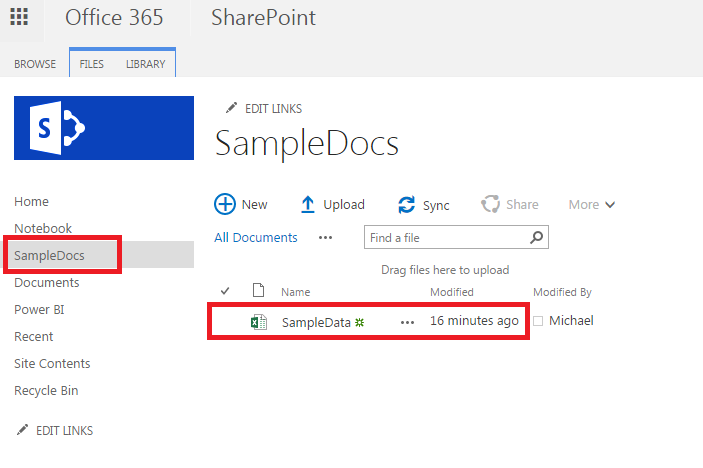
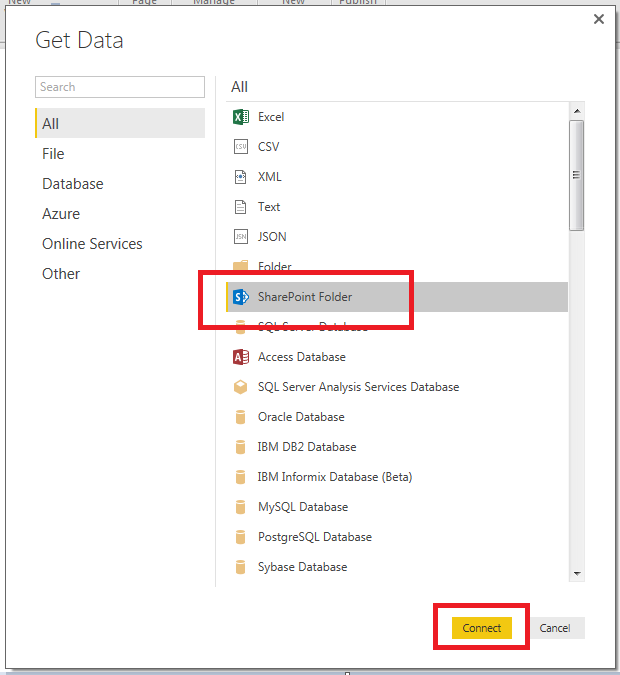
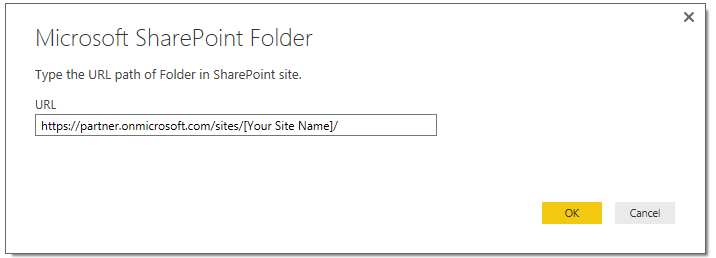
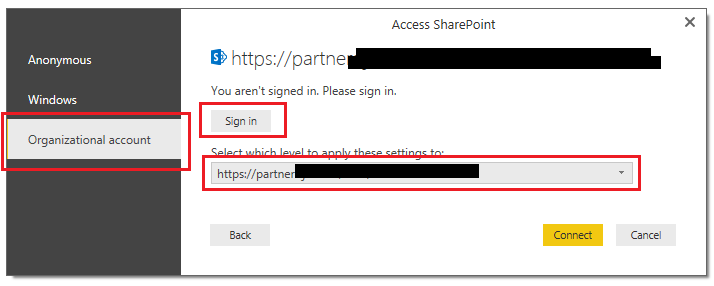
The Setup: The data sources for the original reports were Excel spreadsheets stored in a SharePoint Online folder. The PBIX file connected to Excel files in SharePoint online using a Web connection. Once the reports were created, we stored the PBIX files in a separate SharePoint Online folder. Next, we opened the Power BI Service and connected to the reports directly from Power BI to a SharePoint team site, if you aren’t familiar with that process you can read about it in depth in an article that Mike Carlo wrote -> here. (The TLDR -> Get data -> Files -> SharePoint Folder -> navigate to folder -> Click on PBIX -> Connect)
By connecting to the PBIX files from the PBI Service the dataset, report and dashboard for the report are loaded and sync’d. Where this comes in very handy indeed, is linking the SharePoint folder to your windows explorer and accessing the file, making changes, and saving the PBIX in that “local” location no longer requires you to re-publish the report from the PBIX and the changes make their way to the Service without any further work. I had made several changes to the reports from an asthetics perspective, and maybe added a new measure here and there, but hadn’t done anything drastic until just recently when we updated the sources. Due to some changes on the backend processes that were generating the Excel files, it became apparent that it would be easier for the Dev team if we used CSV files instead of xlsx. The team went through and changed the reports and 3 of the 5 reports we were working on broke in the Service giving this error.


At first, I thought it was the use of parameters in the report, but after determining that wasn’t the issue, it actually helped me figure out that the report in the Service wasn’t updating because the parameters were still showing the “xlsx” file type from the files that I had already removed from the SharePoint location. After repeated attempts to change the datasources manually in the original file, delete and replace, and every other combination of things to try a refresh, I was stumped. What was more confusing, is that connecting to the file again from the PBI Service created another dataset & report of the exact same name!

In my mind, that wasn’t supposed to happen, and I was getting more frustrated because things were not behaving as I would expect. My initial assumption here was that the PBI Service would look at the new PBIX of the same name and recognize the changes and replace the existing dataset and report, the same way that it does if I manually push a PBIX via the “Publish” action. But using this direct connect method, refreshing the dataset did nothing…(cue the “grrrr”).
The solution:
Thanks to the fantastic Power BI team, they were able to determine my issue and share with me the root cause of some of the datasets not updating. The issue is that when you connect to the PBIX files in this manner, the PBI Service looks at the root id of the PBIX file in the OneDrive location and that file id cannot be deleted and replaced with another one. If you do that, you get the above error on the dataset source because it cannot find the file id. If you remove the file out of SharePoint then when you insert it back into the folder the ID will be different. This is what breaks the dataset in Power BI, and also the reason it allows what appears to be the same named dataset and report. However there is good news, because you are in SharePoint you will be able to go back in version history of the folder and pull the previous versions of the reports and resolve the issue in the datasets. I did end up having to replace one of the reports, but lucky for us it was only a single user for the customer report and re-sending a shared link was a really low impact compared to what it could have been.
Here are the following guidelines I can offer up after going through this.
Do:
- Sync the SharePoint folder to your local storage
- Open the report directly from the synced folder and update it in location
- Leave the originals file in the folder and replace it with the new one
- Do try to resurrect your previous version of the report PBIX in the folder (if you are hitting this issue now)
Don’t:
- Move the file to your local machine, then back to the SharePoint folder
- Remove the file from the folder (You can do this if you move it to a SharePoint folder, update and move it back, but if the dataset refreshes during that time in the Service it will break and you will need to fix the credentials when you have put the file back.
I hope you found this post worthwhile, error messages are hard to track down to the root causes and due to the nature of this being a tricky one for me to solve I thought I would share the experience and hopefully help others avoid it or solve the errors that match above.
When testing out this issue again, I did uncover this error message which is much more specific. It came up after I made the breaking change, but prior to an automated refresh.

If you like the content from PowerBI.Tips, please follow us on all the social outlets to stay up to date on all the latest features and free tutorials. Subscribe to our YouTube Channel, and follow us on Twitter where we will post all the announcements for new tutorials and content. Alternatively, you can catch us on LinkedIn (Seth) LinkedIn (Mike) where we will post all the announcements for new tutorials and content.
As always, you’ll find the coolest PowerBI.tips SWAG in our store. Check out all the fun PowerBI.tips clothing and products:


