Scrims Instructions
Thanks for your interest in our product Scrims. For more details on what is a scrim click this link to Learn More.
Download a scrim from the products page. You can access all the available scrims here.
Instructions
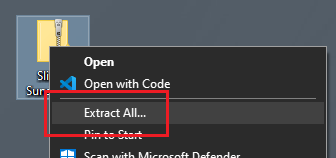
After downloading, you will have a Zip file stored on your computer. Right Click on the zip file and Select the option Extract All from the drop down menu.
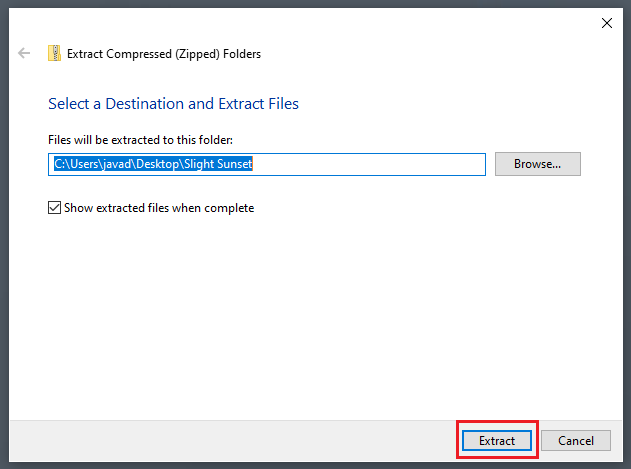
The extract compressed folder menu will appear. Click on the Extract button found in the bottom right corner of the menu.
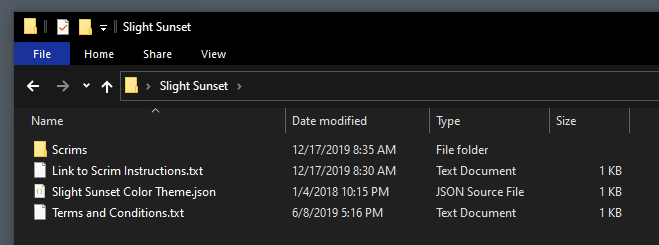
A new folder will be extracted to the location noted in the previous menu screen. Open the newly created folder. Within this folder you will find all the images for the Scrims and a JSON theme file to use within your report.
When working with scrims it is helpful to see which image contains the the correct background layout for each of your pages. I find that it is helpful when reviewing images as Extra large icons. To turn this on, Open the View ribbon in the File Explorer. Then in the Layout window select the option titled Extra large icons.
![]()
Add Scrims to Report
Open a Power BI report in the Power BI Desktop application.
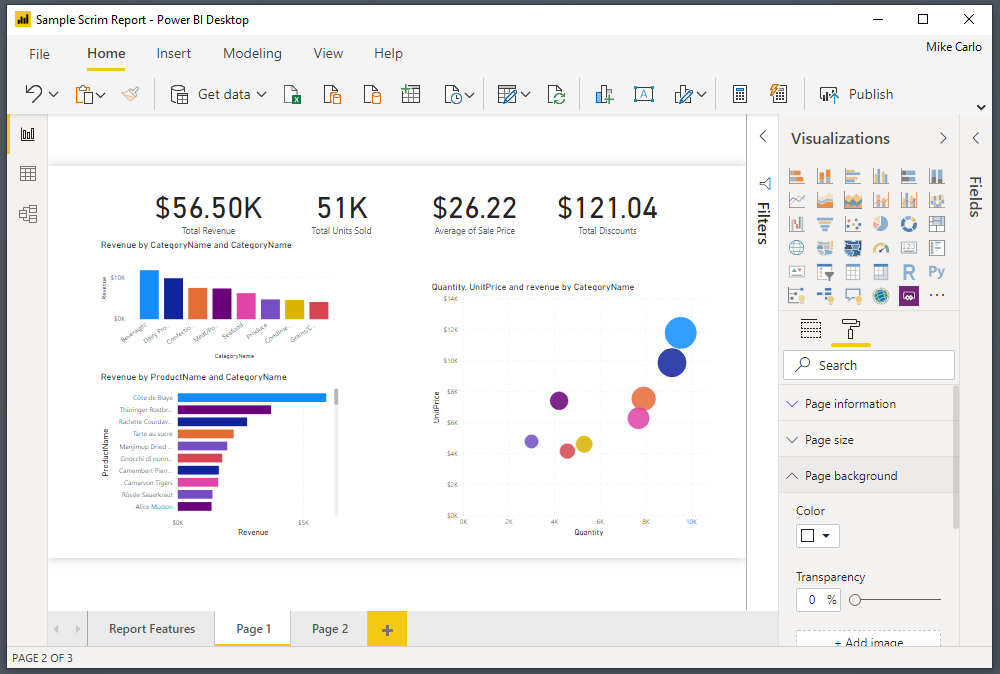
Note: Reports do not necessary have to be brand new. You can use scrims on existing reports. For illustration purposes an existing report was opened with only visuals. The remainder of this tutorial will show you how to add scrims to a pre-developed report.
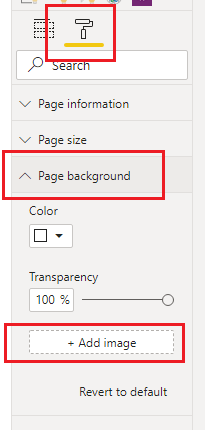
Click on the Paint Roller button. Then Open up the Page background item in the menu options. Click on the option labeled Add image.
Note: for these options to appear you have to have a report open and none of the visuals selected on the page.
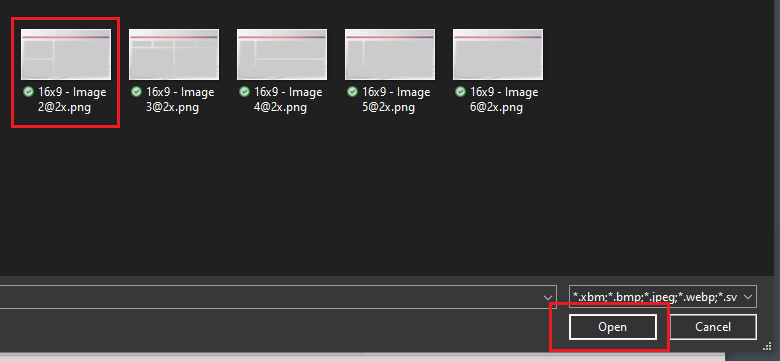
In the open file selection dialog box pick the scrim that you want to load. Click on Open to load the image to the report page.
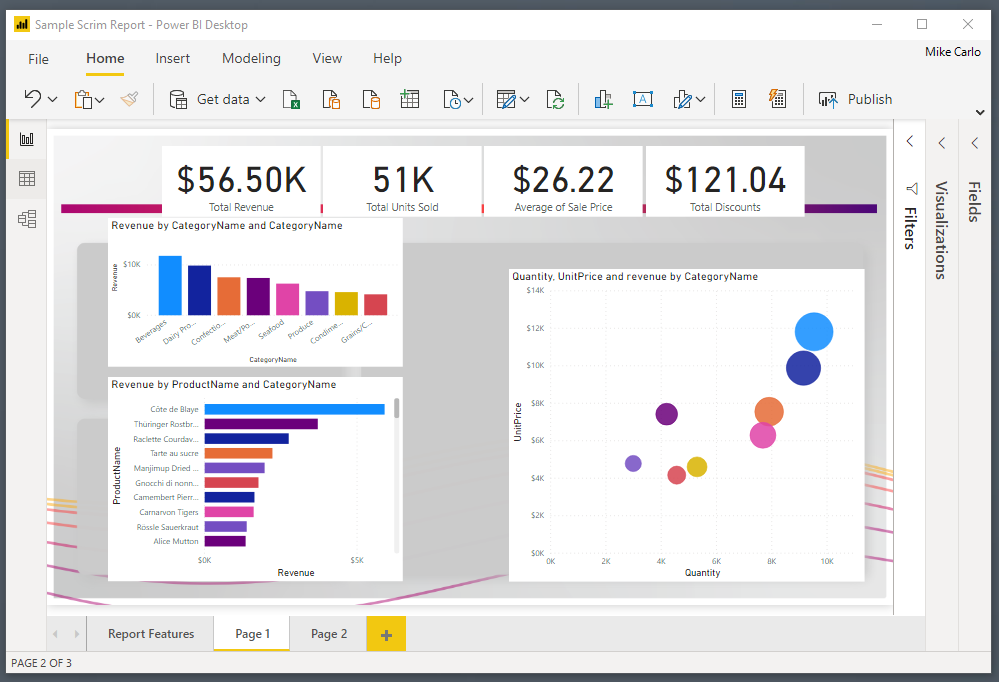
The image will not initially appear. This is because the default settings for background are set incorrectly for this feature. Change the transparency to 0% and adjust the Image Fit to the drop down option of Fit.
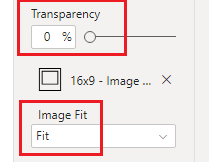
Note: Images provided in scrims are larger than the report page pixel size. This is because in order for the images to not look blurry we have to supply a larger image. The Fit feature then scales the image back down to the report canvas size but retains a crisp and clean look.
Our report should now look similar to the following:
Add JSON Themes
Initially the visuals will not be formatted for the style of the report. We can control this by using a JSON theme file to pre-format some options for the visuals.
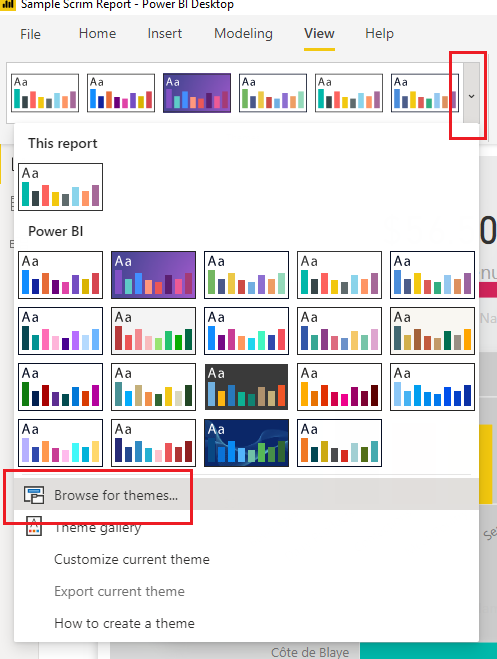
On the View ribbon, select the Drop Down Arrow icon. Then Select the option at the bottom of the menu titled Browse for themes…
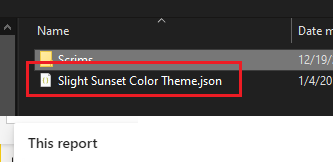
Navigate to the scrims download folder and add the supplied theme with scrim download.
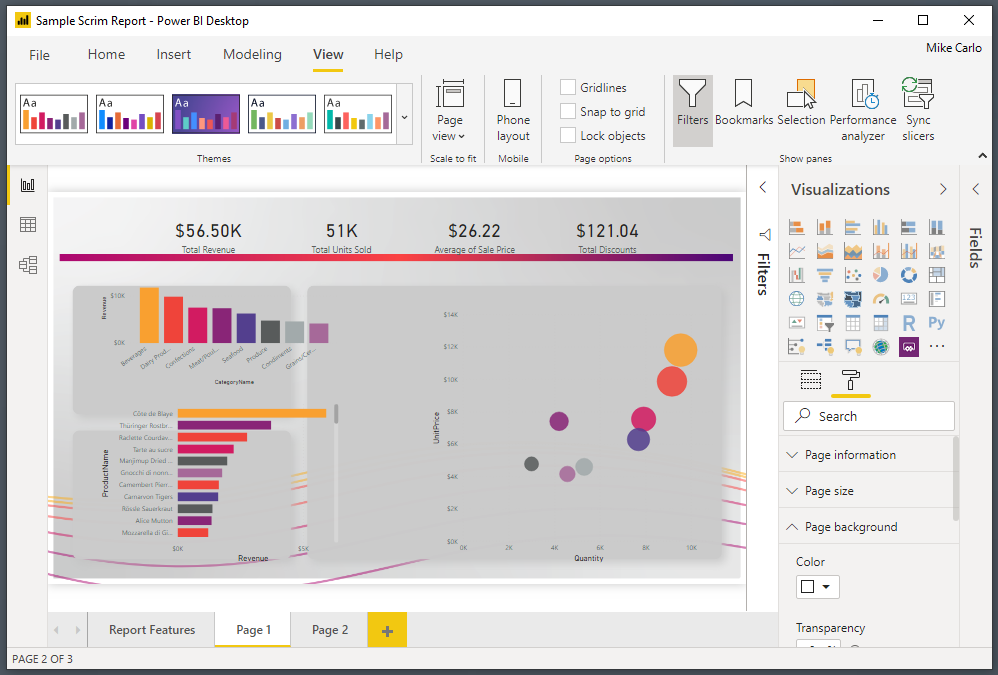
This will apply formatting for the colors and some Visual style properties.
Clean up Visuals
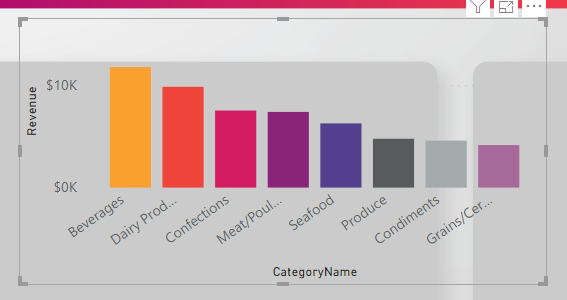
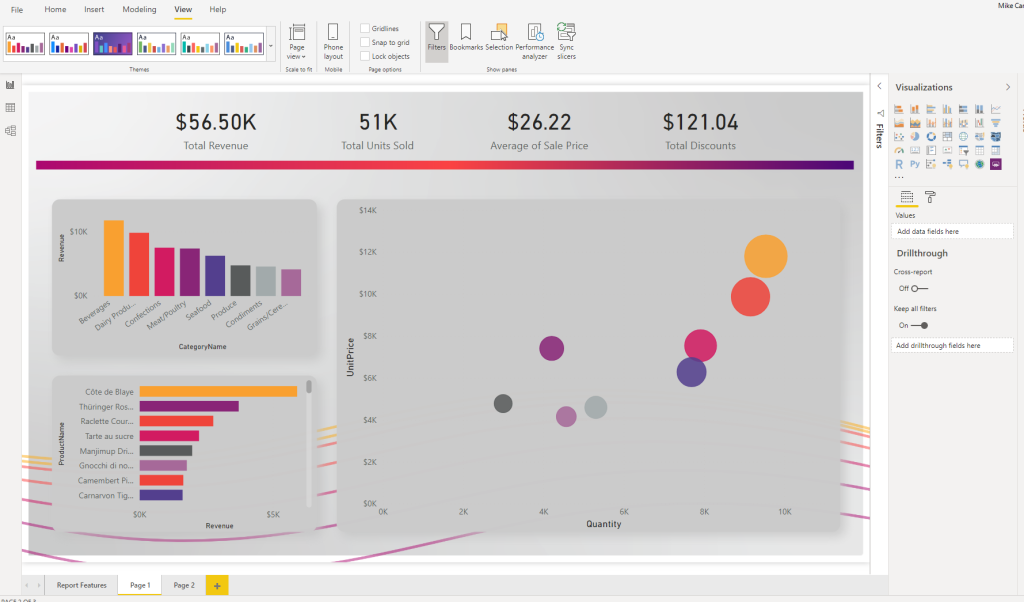
Next Select individual visuals and Align them to the defined areas within the scrim.
See sample image below with visuals aligned to the scrim.
Finalize Report
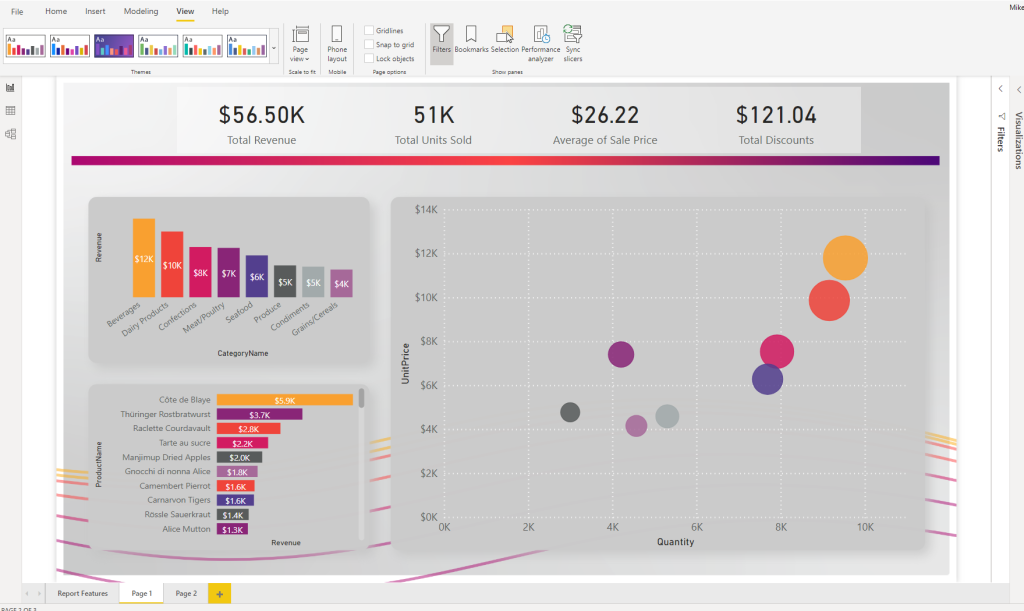
Apply any additional style properties for your visuals. In the below image the following settings are added for reference:
- The top 4 cards are grouped and the group
- The Grouped cards were applied a background of white @ 40% transparency
- Labels were added to the bar charts
- Unneeded axis were removed from the bar charts for clarity
- White lines were added to the scatter chart for x and y axis
Then rinse wash and repeat for every other page you need to develop.
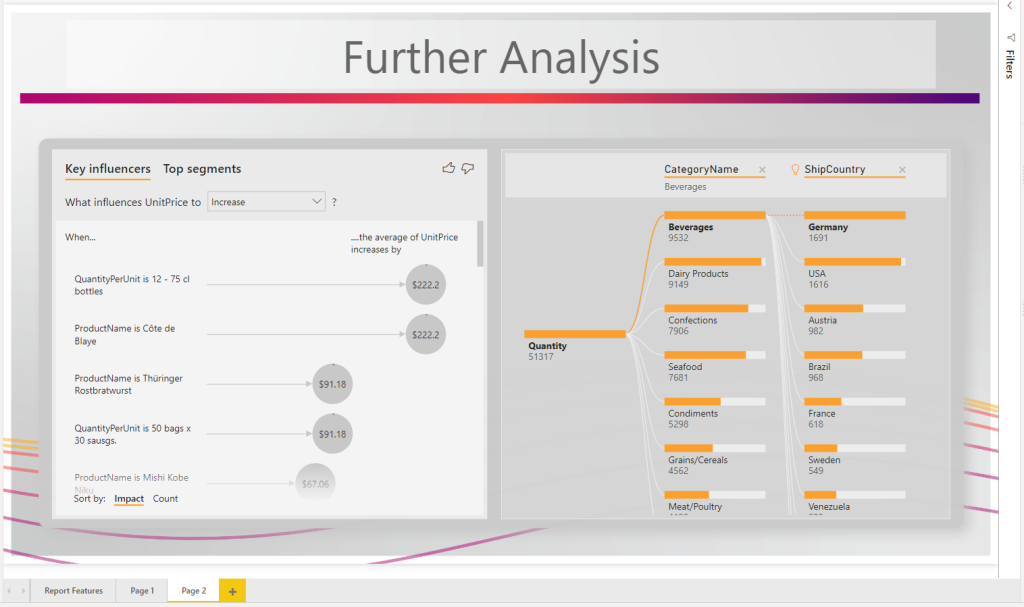
Here is a completed sample of this report:
